Quick Answer:
You can record audio on your Windows 7 PC or laptop to capture system sound or microphone audo with the help of the preinstalled Sound Recorder on Windows 7, SurFlex Screen Recorder, Free Online Audio Recorder, or Chrome Audio Capture.
Recording audio on Windows 7 is never a tough task since there are both preinstalled and third-party sound recorder apps to help. Therefore, when you want to record a WAV file, record music, or capture streaming audio on your Windows 7 PC or laptop, there is more than one way available for you. Read on to learn how to record audio on Windows 7 to capture any audio you need.
Table of contents
Record Voice on Windows 7 with Sound Recorder
Tool: Sound Recorder in Windows 7
Windows 7 includes a built-in voice recorder called Sound Recorder, which enables you to record your voice using the integrated microphone or an external microphone connected to your PC or laptop. Therefore, the simplest method to record audio from a microphone on Windows 7 is to utilize the preinstalled app.
When recording voice on your laptop or PC using Sound Recorder, the recordings will be saved in WMA format by default. If you prefer to save the audio files in a different format, you can use an online audio converter to convert them into your desired format.
To record the microphone on Windows 7:
Step 1. Launch Sound Recorder from the Start Menu.
Step 2. Click Start Recording to start recording your voice via the microphone.
Step 3. When you are done, click Stop Recording.
Step 4. Select the storage path, rename the audio recording, and then click Save.

Record Audio on Windows 7 in All Situations
Tool: SurFlex Screen Recorder
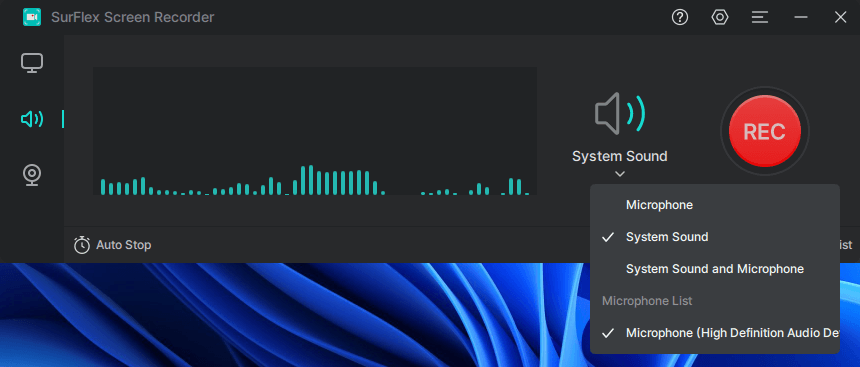
When you want to record sounds from your computer or capture both internal and external audio on Windows 7, using a third-party audio recorder like SurFlex Screen Recorder is necessary. When you record audio on Windows 7 with it, you will be able to record streaming audio from websites, record game audio, capture microphone sound, record both system sound and microphone audio, and more.
Moreover, it provides a wide range of audio formats for you to choose from, making it easy for you to record a WAV file on Windows 7. If you want to record audio on your Windows 7 computer with more flexibility, using SurFlex Screen Recorder is a viable choice.
To record audio on Windows 7:
Step 1. Launch the screen recorder, click Settings to select the output options, and then choose the Record Audio mode.

Step 2. When you record audio on Windows, you can choose Microphone to capture your own voice, select System Sound to record audio coming from your computer, or choose System Sound and Microphone to capture both. When you are ready to record, click REC.

Step 3. Once the audio recording is completed, click Stop.

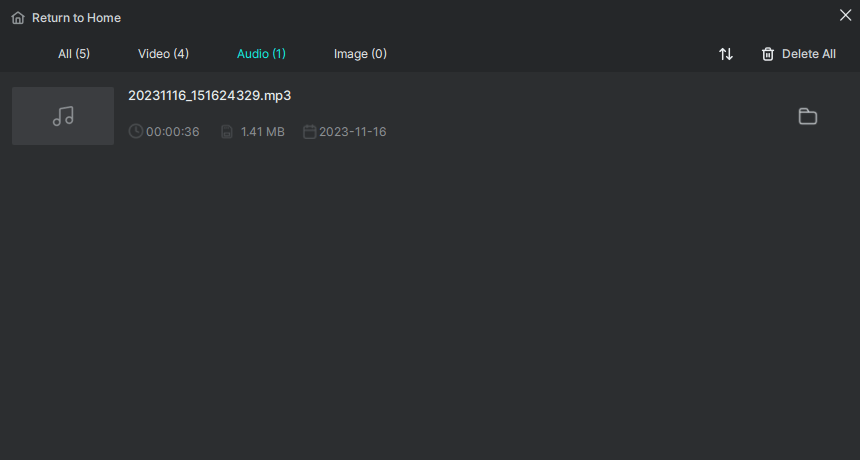
Step 4. Check the audio recording in the popup window.

SurFlex Screen Recorder is also compatible with other Windows versions. That means you can record audio on Windows 10 or Windows 11 without switching to another tool.
Record Streaming Audio on Windows 7 Online
Tool: Free Online Audio Recorder
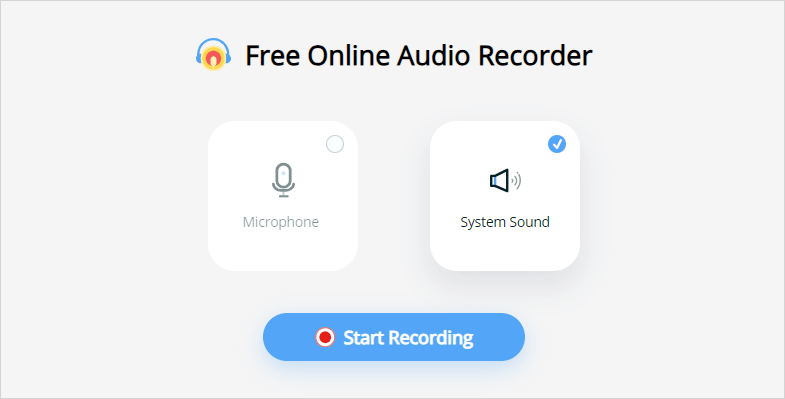
If you are going to record streaming audio on Windows 7 from a website, window, or screen, there is a simple solution for you, which is to use the Free Online Audio Recorder from Apowersoft. This web-based online sound recorder is capable of recording system sound, microphone audio, or both and saving the recording in MP3. When you use it to record internal audio on Windows 7, you can choose to record streaming audio from a browser tab, an app window, or your screen. Thus, when you want to record audio from a website, it will come in handy.
To record streaming audio on Windows 7:
Step 1. Open Chrome on your computer and visit Free Online Audio Recorder.
Step 2. Click Start Recording, choose System Sound, and then click Start Recording again.
Step 3. Select the tab, window, or screen you want to record streaming audio from and then click Share.
Step 4. Once the recording is finished, click Stop Recording and go back to the online audio recorder.
Step 5. Check the audio and click Save to download the audio recording to your PC.

Record a WAV File on Windows 7
Tool: Chrome Audio Capture
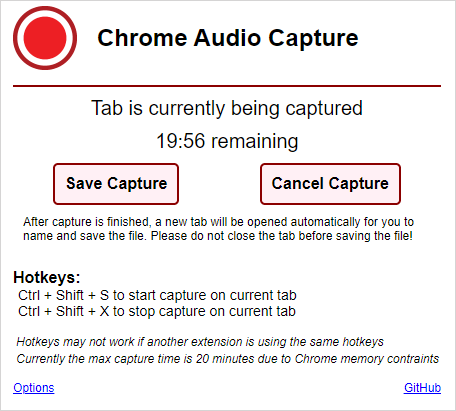
If you wish to record WAV files on Windows 7, apart from utilizing the SurFlex Screen Recorder mentioned above, there is another simple solution available to you. You can use the Chrome Audio Capture, a Chrome extension that enables you to record audio from the internet and save it in WAV or MP3 format. This extension is especially useful when you want to record audio from YouTube or other websites, as it allows you to effortlessly create WAV files.
To record a WAV file on Windows 7:
Step 1. Add Chrome Audio Capture to your browser and pin it to the toolbar.
Step 2. Open a new tab and play the audio you’d like to record.
Step 3. Click Chrome Audio Capture, go to Options to select WAV as the output format, and then click Start Capture.
Step 4. When the recording is finished, click Save Capture.
Step 5. Click Save Capture again, select a target folder, rename the recording, and then click Save.

Wrapping Up
Regardless of the type of audio you wish to capture from your Windows 7 PC or laptop, you are now aware of the useful tools to accomplish the task. To assist you in making an informed decision, a robust audio recorder like SurFlex Screen Recorder is recommended if you frequently need to record audio and video on your computer. However, if you only require audio capture on an occasional basis, utilizing an online service will be more efficient.
About the Author
Related Articles
-
3 Easy Ways to Record Computer Audio Online
When you want to record computer audio online, you can check the proven tips here and apply any of them to capture audio with ease.
Myra Xian Updated on -
4 Ways to Record Audio from Website
You can record audio from website easily and save it in any format you prefer. Check this guide to get the detailed tips.
Myra Xian Updated on -
3 Ways to Record Music from Spotify on Computer
Check the easy tips in this guide and use any of them to record music from Spotify in MP3 or any other format you prefer.
Myra Xian Updated on

