Quick Answer:
You can record audio on your PC in Windows 10 to capture system sound, microphone sound, or both with the built-in Voice Recorder, SurFlex Screen Recorder, Audacity, OBS Studio.
Audio recording is necessary for voiceover purposes, podcasting, note-taking, and more. That’s why many people want to record audio on their PC or laptop. With that in mind, I would like to show you how to record audio on Windows 10 in detail. Whether you want to record your voice or capture computer audio, you will learn how to do it easily.
Table of contents
How to Record Voice on Windows 10 Directly
Tool: Windows 10 Voice Recorder
If you are going to record your voice on Windows 10 via microphone input, you don’t need any third-party software as the preinstalled Voice Recorder can assist you. It enables you to record sounds from your microphone and save the recording as an M4A file on your computer. When you are looking for a simple and straightforward solution to record voice on a laptop or PC, using the Windows 10 Voice Recorder will meet your needs.
To record your voice on Windows 10:
Step 1. Make sure your microphone works properly.
Step 2. Go to the Search Bar and input Voice Recorder. Then click to open the app.
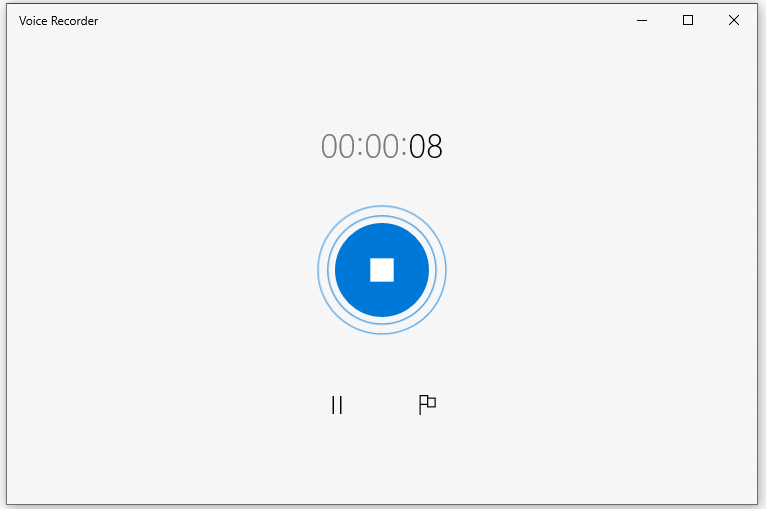
Step 3. When you are ready to record, click the blue Record button or press Ctrl-R to start the audio recording.
Step 4. During the recording, you can pause or add a marker to the recording.
Step 5. Once the audio recording is finished, click the Stop button in the middle of the screen.
Step 6. Now you can rename or trim the voice recording according to your needs.
How to Record Audio on Windows 10 Freely
Tool: SurFlex Screen Recorder
The Windows 10 Voice Recorder is only useful for recording sound from a microphone or other external audio sources. Therefore, when you want to record computer audio, including system sound or app sound, you will need a third-party audio recorder like SurFlex Screen Recorder.
It is a third-party sound recorder that allows you to easily capture internal sound on Windows 10. It enables you to customize the audio format and quality according to your preferences. Additionally, you can record external sound or both internal and external audio using this software. In short, it allows you to capture any audio source you need.
What’s more, since SurFlex Screen Recorder is also a video recorder, it is applicable when you need to screen record on Windows 10 with audio to capture both video and audio from your computer. If you need to record audio, your computer screen, or both often, using this screen recording tool is the optimal choice.
To record audio on Windows 10:
Step 1. Launch the screen recorder, click Settings to select the output options, and then choose the Record Audio mode.

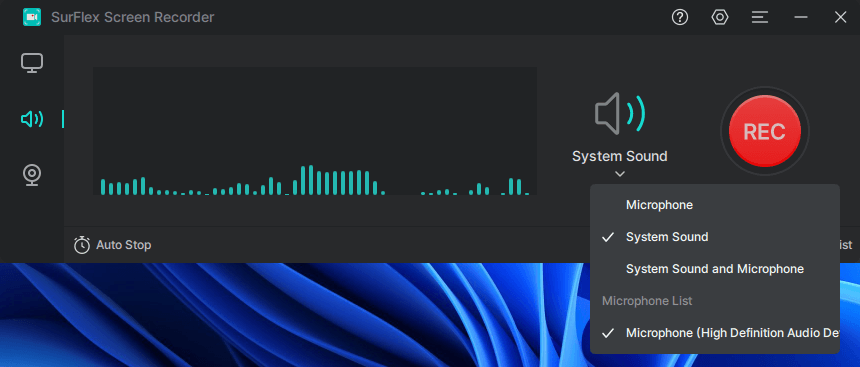
Step 2. When you record audio on Windows, you can choose Microphone to capture your own voice, select System Sound to record audio coming from your computer, or choose System Sound and Microphone to capture both. When you are ready to record, click REC.
Step 3. Once the audio recording is completed, click Stop.

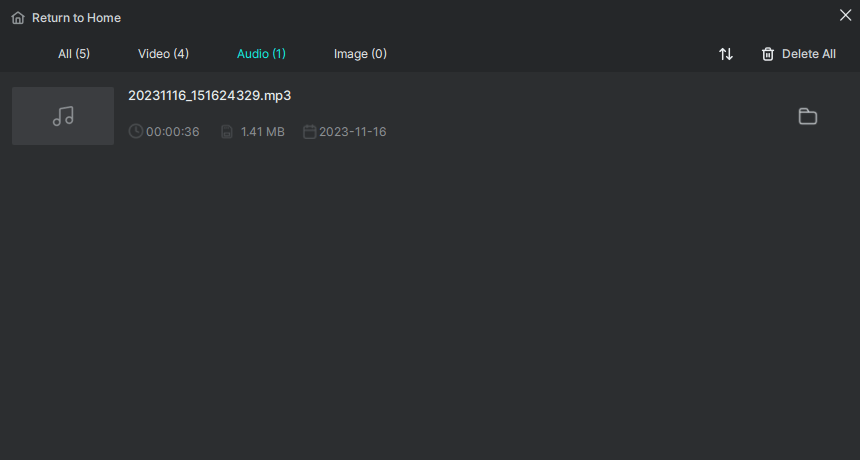
Step 4. Check the audio recording in the popup window.
How to Record Sound on Windows 10 for Free
Tool: Audacity
When it comes to audio recording, there is a free, open-source, and cross-platform program that is helpful, which is Audacity. It is not only a popular audio editor but also an audio recorder available for Windows, macOS, and other platforms. Therefore, if you need to record sounds on Windows 10, Audacity is a viable solution.
However, compared to the two methods mentioned above, using Audacity to capture audio is relatively more complex. If you prefer an easy solution, it is advisable to try Voice Recorder or SurFlex Screen Recorder. But if you don’t mind, you can follow the steps below to learn how to use Audacity to record computer audio or microphone sound on your computer for free.
To record sounds on Windows 10:
Step 1. Open Audacity, go to Audio Setup > Host, and choose Windows WASAPI.
Step 2. Go to Audio Setup again, click Recording Device, and then select the audio recording device.
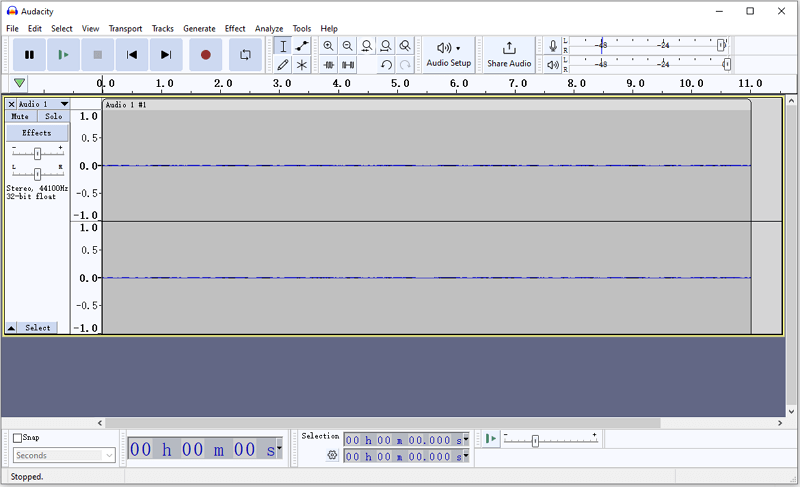
Step 3. Click the Record button to start recording audio on your PC.
Step 4. Once the recording is finished, click the Stop button.
Step 5. Edit the audio recording if needed.
Step 6. Go to File > Export and choose a preferred format.
Step 7. Rename the file, set the storage path, and then click Save to save the audio file to your computer.
How to Record Internal Audio on Windows 10
Tool: OBS Studio
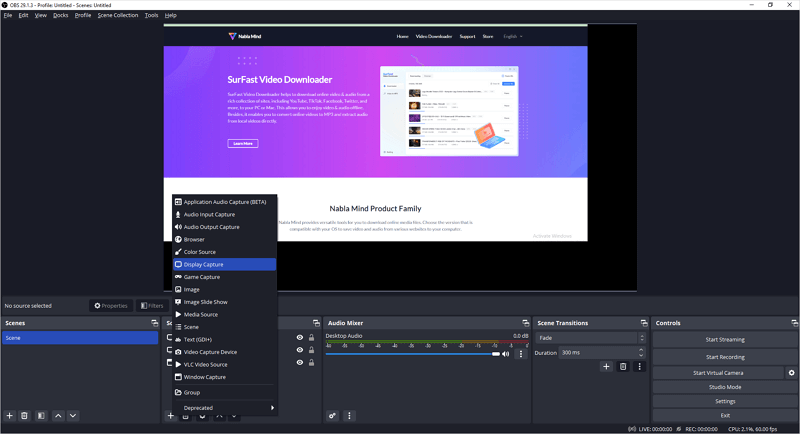
If you intend to record internal audio on Windows 10, such as capturing audio from YouTube, you can also consider using OBS Studio. OBS Studio is a free and open-source program designed for live streaming and screen recording. Along with its recording capabilities, you can also use it to specifically record audio on your computer, capturing system sound, microphone sound, or both.
Notes: The recording will still be saved in a video format even if you don’t add video sources to the recording.
To record internal audio on Windows 10:
Step 1. Download and install OBS Studio on your computer.
Step 2. Go to the Sources panel and then click the plus icon to add the audio sources, such as Audio Output Capture and Application Audio Capture.
Step 3. When you are ready, click Start Recording in the Controls panel.
Step 4. In the prompt, click OK to continue.
Step 5. When you are finished with the sound recording, click Stop Recording.
Step 6. Go to C:/Users/admin/Videos to check the audio file.
Wrapping Up
The best approach for you will vary depending on your specific needs. In general, if you only need to record audio on your Windows 10 computer, using the native Voice Recorder or Audacity would be a suitable option. However, if you require the capability to record both audio and video from your computer, opting for a comprehensive screen recording software like SurFlex Screen Recorder or OBS Studio would be a better choice.
About the Author
Related Articles
-
How to Use Audacity to Record Computer Audio on Mac
This is a guide on how to use Audacity to record computer audio on Mac. Check it and you can record system sound or streaming audio easily.
Myra Xian Updated on -
Detailed Steps to Record Audio from Firefox
If you want to know how to record audio from Firefox, check the easy tip here and you will know how to do it with a few simple clicks.
Myra Xian Updated on -
QuickTime Audio Recording: All Details Here
You will know how to perform QuickTime audio recording step-by-step to record internal or external audio on your Mac.
Myra Xian Updated on

