Quick Answer:
ou can record WAV files on your Windows 10 PC or laptop using SurFlex Screen Recorder, Audacity, Chrome Audio Capture, or the built-in Voice Recorder. If you choose to use the preinstalled Voice Recorder, you will need to take an additional step: convert the recording to WAV format, as the default audio format is M4A
It’s incredibly easy to record a WAV file on Windows 10, no matter which type of audio you want to capture. Thus, if you want to know how to record a WAV file on Windows 10, I’d be glad to tell you there are many simple ways available. If that’s what you want, keep reading and use any of the tips to record WAV files on Windows 10 without any hassle.
Table of contents
How to Record a WAV File on Windows 10 (All Audio Types)
Tool: SurFlex Screen Recorder
Whether you are going to record streaming audio to capture computer audio or record your voice on Windows 10 to capture microphone sound, you can use the easy and flexible audio recorder, SurFlex Screen Recorder, to record audio on Windows 10 and save the recordings as WAV files easily.
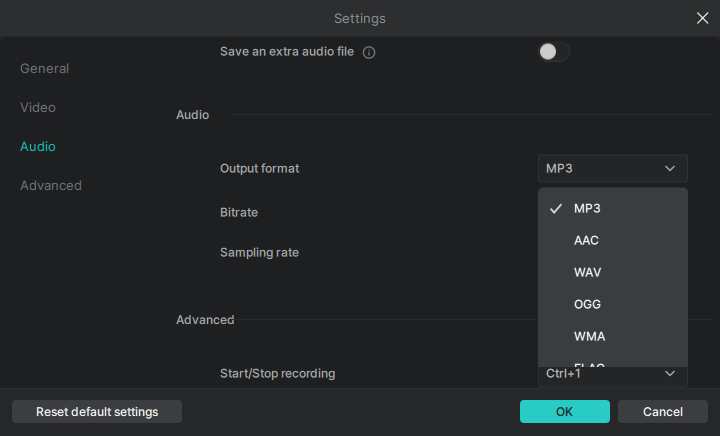
This screen recorder provides rich audio formats for you to choose from. In addition to WAV, you can choose MP3, AAC, OGG, WMA, or FLAC as the output format. Moreover, you can customize the bitrate to choose a preferred quality for your audio recording.
In short, whether you want to record WAV files on Windows 10 or create MP3 files on Windows 11, SurFlex Screen Recorder will do it for you.
To record a WAV file on Windows 10:
Step 1. Launch SurFlex Screen Recorder and then choose the Record Audio mode.

Step 2. Click Settings, choose WAV as the output format, and then click OK.
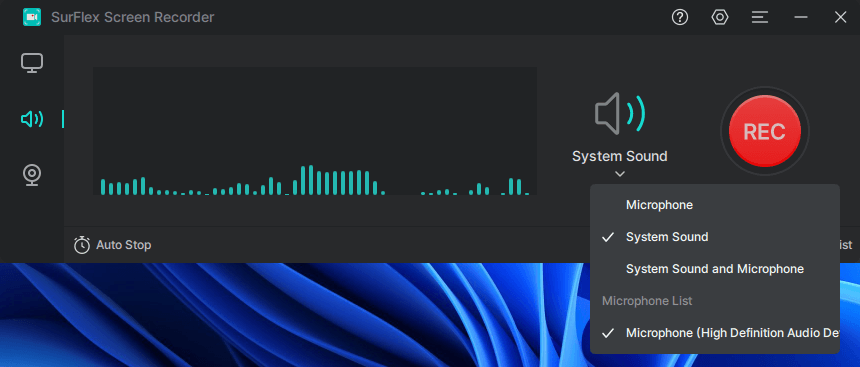
Step 3. Select the audio recording option you need and then click REC to start recording a WAV file on your computer.
Step 4. Once the audio recording is finished, click the Stop button.

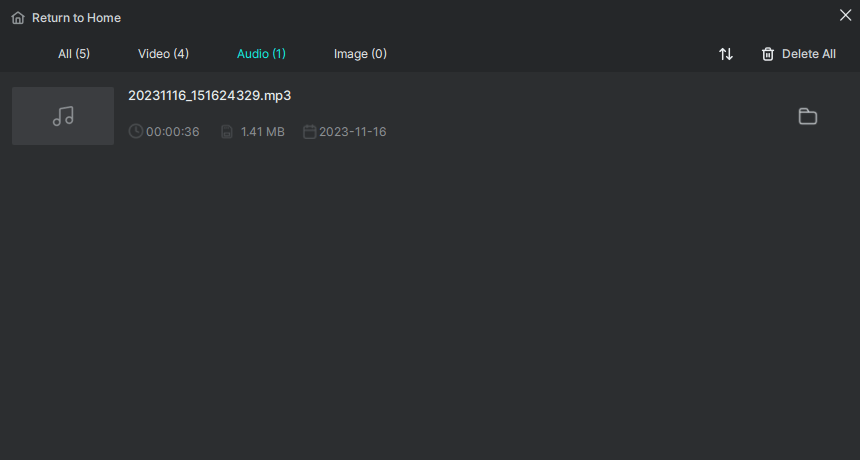
Step 5. Check the WAV file in the recording list.
How to Record a WAV File for Free
Tool: Audacity
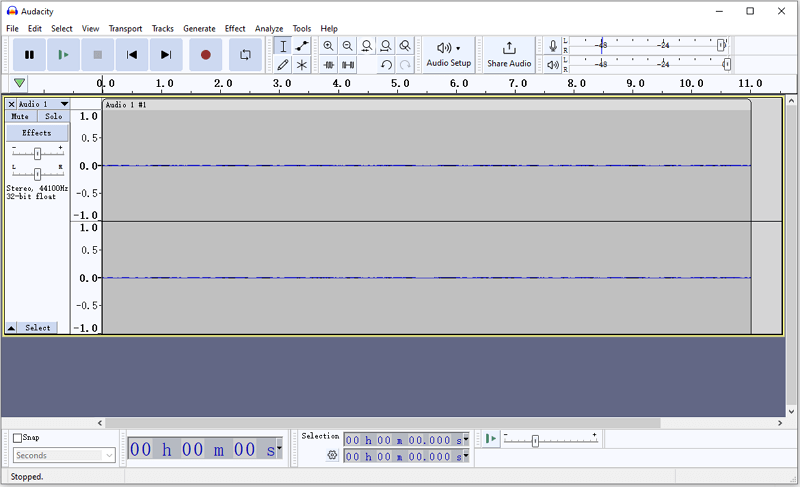
Whenever you want to record a WAV file on your computer, be it a Mac or PC, you can use Audacity to help. Audacity is a free and open-source audio recorder and editor that is compatible with both Windows and macOS. When you use it to record audio on Windows 10, you can save the recorded audio in MP3, WAV, or OGG format. Therefore, it is also a viable solution for you to record a WAV file on PC.
It’s worth noting that Audacity can be used to record your voice or record internal audio on Windows, depending on your specific needs.
To record a WAV file on Windows 10:
Step 1. Download and install Audacity on your PC.
Step 2. Go to Audio Setup, select Host, and then choose Windows WASAPI.
Step 3. Go to Recording Device under Audio Setup, and choose the option you need, such as your microphone or computer’s speakers.
Step 4. Click the Record button to start recording the audio track.
Step 5. Once the recording is completed, click the Stop button.
Step 6. Edit the audio recording if you need to.
Step 7. Go to File > Export > Export as WAV.
Step 8. Rename the file, select the storage folder, and click Save to save the WAV file to your computer.
How to Record WAV Files on Windows 10 Online
Tool: Chrome Audio Capture
If you are going to record audio from website, you can use Chrome Audio Capture to create a WAV file online for free without any software. Chrome Audio Capture is a handy Chrome extension that enables you to record audio from a Chrome tab and save the recording in WAV or MP3 format. Thus, if you are going to record audio from the internet, such as recording audio from YouTube, it is a convenient solution.
The only drawback is that Chrome Audio Capture is not reliable for recording audio longer than 20 minutes, as it may not save lengthy recordings properly. If you need to record extended audio, it would be more suitable to explore one of the alternative methods mentioned in this guide, as they will better meet your requirements.
To record WAV files on Windows 10 online:
Step 1. Add Chrome Audio Capture to your Chrome and pin it to your toolbar.
Step 2. Open another tab and play the audio you’d like to record.
Step 3. Click the audio recording extension, click Options to select WAV as the target format, and then click Start Capture.
Step 4. To end the recording, click Save Capture.
Step 5. On the new page, click Save Capture again, rename the recording, and click Save.

Since Chrome Audio Capture also supports MP3, you can follow the same steps to record MP3 on Windows 10 when you need to.
How to Create a WAV File on Windows Indirectly
Tool: Voice Recorder
Voice Recorder is also a workable choice if you want to record your voice on Windows 10. However, it only saves the audio recording as M4A by default. If you want to create a WAV file, you can use an online audio converter like CloudConvert to change the M4A file to a WAV file, which is quite easy to achieve.
To create a WAV file on Windows 10:
Step 1. Make sure your microphone functions properly on your computer.
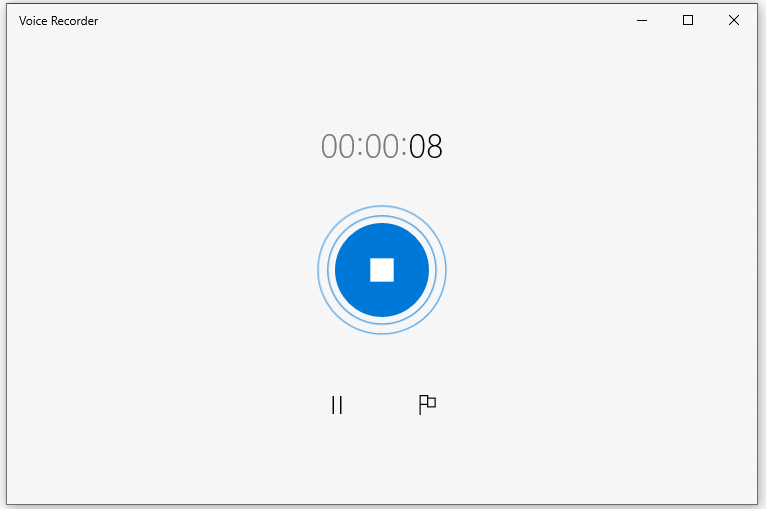
Step 2. Open the Voice Recorder app and click the blue Record button.
Step 3. When you need to end the recording, click Stop.
Step 4. Trim and rename the audio file if necessary.
Step 5. Open a browser on your computer and visit CloudConvert.
Step 6. Upload your recording and convert it to a WAV file online.
Wrapping Up
As you can see, recording a WAV file on Windows 10 is extremely easy. WAV is one of the most common audio formats, and many audio recorders support WAV in their list of supported formats. Even if you create an audio recording in other formats, you can easily convert the audio to WAV using a convenient online converter such as CloudConvert.
About the Author
Related Articles
-
Detailed Steps to Record Audio from Firefox
If you want to know how to record audio from Firefox, check the easy tip here and you will know how to do it with a few simple clicks.
Myra Xian Updated on -
Record Audio on Windows 8: Microphone or System Sound
Check audio recording software for Windows 8 and use it to record audio on your PC in Windows 8 to capture voice, system sound, and more.
Myra Xian Updated on -
How to Record Voice on Android: The Ultimate Guide
In this guide, you will learn three ways to record audio on Android to capture microphone sound. Pick the one you like to apply.
Myra Xian Updated on

