Quick Answer:
You can screen record on Razer laptop using the built-in Xbox Game Bar, Razer Cortex, SurFlex Screen Recorder, or an online screen recorder like ScreenApp.
Whenever you need to screen record on laptop, there are lots of screen recorders available for help, no matter which Windows version your computer is running. It’s no exception when it comes to recording the screen on a Razer laptop. If you want to know how to screen record on Razer laptop, check the four easy tips below and apply the way you like to capture everything you need on your Razer computer.
Table of contents
How to Screen Record on Razer Laptop in Windows 11
Also applies to screen record on Windows 10
Windows 11 has two built-in screen recorder apps: Snipping Tool and Xbox Game Bar. Although Snipping Tool screen record enables you to record full screen or a selected portion of your screen on your Razer laptop, it can’t capture audio along with video. Thus, here I’d like to show you how to screen record on Razer with Xbox Game Bar.
Xbox Game Bar, available for both Windows 11 and Windows 11, allows you to screen record on Windows with audio, including external audio and internal audio. It will help to record the active window from a game or app (except for File Explorer). However, Xbox Game Bar recording disallows you to record the desktop or a selected section of your screen.
Therefore, the Xbox Game Bar app is only recommended when you are going to record a game or app window with audio. Before you start, it’s advisable to go to Start > Settings > Gaming > Captures to set up the recording settings. Then, press Windows + G and go to Settings > Capturing to select the audio input option. Afterward, follow the steps below to record screen on Razer easily:
To screen record on Razer laptop via Xbox Game Bar:
Step 1. Prepare the window you’d like to capture.
Step 2. Press Windows + Alt + R to start recording instantly.
Step 3. When you’re done, press Windows + Alt + R again or click the Stop icon in the control bar.
Step 4. You can click the Game clip recorded message or go to the Gallery panel in Xbox Game Bar to check the recorded video.
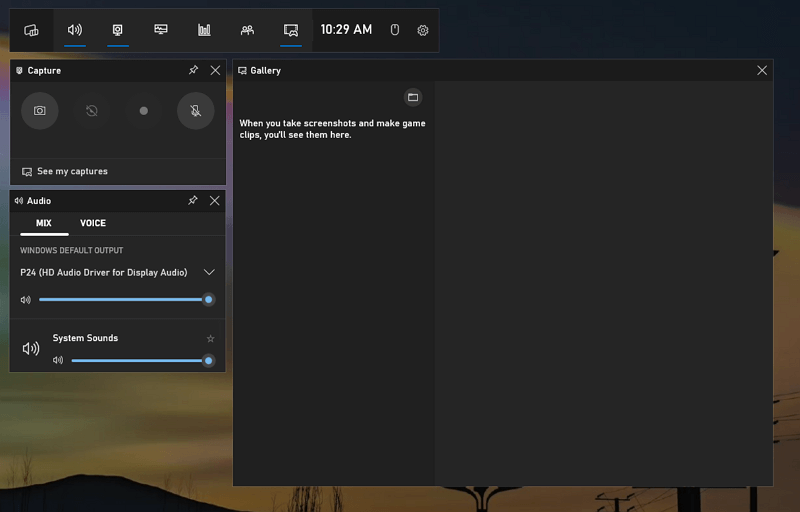
Whenever you need to record a video on laptop, be it from Razer or other brands, you can use Xbox Game Bar to capture video and audio on your computer. If you don’t want to use this pre-installed app, learn how to screen record on Windows without Game Bar here.
How to Screen Record with Razer Cortex
If you use a Razer laptop, you probably also use Razer Cortex, a popular game booster, on your computer. Most importantly, Razer Cortex has a screen recording feature that enables you to record gameplay on Razer laptop easily. If you are going to screen record on your Razer laptop for sharing gameplay, Razer Cortex is a feasible solution.
To screen record with Razer Cortex:
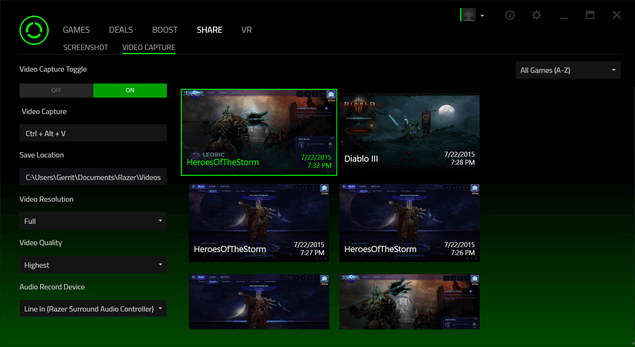
Step 1. Open Razer Cortex and click on the Share tab.
Step 2. Click Video Capture and toggle on Video Capture.
Step 3. Set up the recording settings, such as video capture shortcut, storage location, and video quality.
Step 4. Now go to Games and play the game you’d like to record.
Step 5. Press the screen recording shortcut you just set or use Ctrl + Left by default to start recording.
Step 5. Press Ctrl + Left again to end the recording.
Step 6. Go to Razer Cortex > Share and then you can check your recorded video here.
How to Screen Record on Razer with SurFlex Screen Recorder
If you want a more flexible screen recording solution, using a professional screen recorder for Windows is highly recommended. Among various screen recorder apps, it’s advisable to try SurFlex Screen Recorder, a lightweight screen recording tool for all Windows versions that allows you to screen record on any Razer laptop.
SurFlex Screen Recorder is helpful in various screen recording situations and will help you record any video or audio you’d like to capture. With it, you will be able to record the full screen, a selected portion, a window, a game, the webcam, and more, either with or without audio.
Besides, it provides rich video & audio output formats for you, allowing you to record a video on Razer laptop in your desired format.
To screen record on Razer:
Step 1. Open SurFlex Screen Recorder and go to Settings to select the output options. Afterward, set up the webcam and audio options according to your needs.

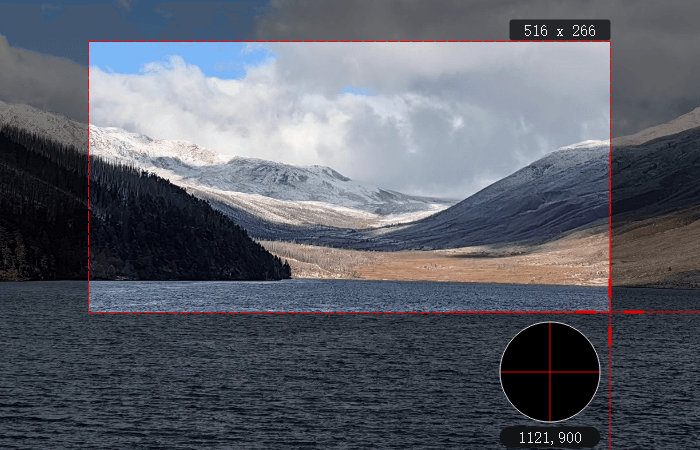
Step 2. Select the recording screen, region, or window, and then click REC to start the screen recording on your laptop.
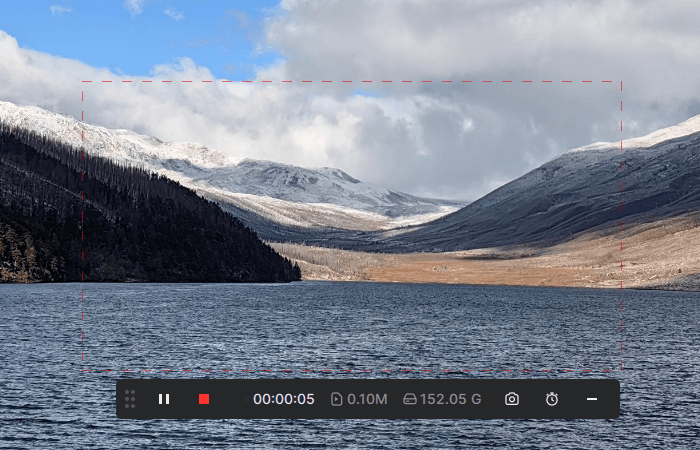
Step 3. Once the recording is done, click Stop in the recording bar.
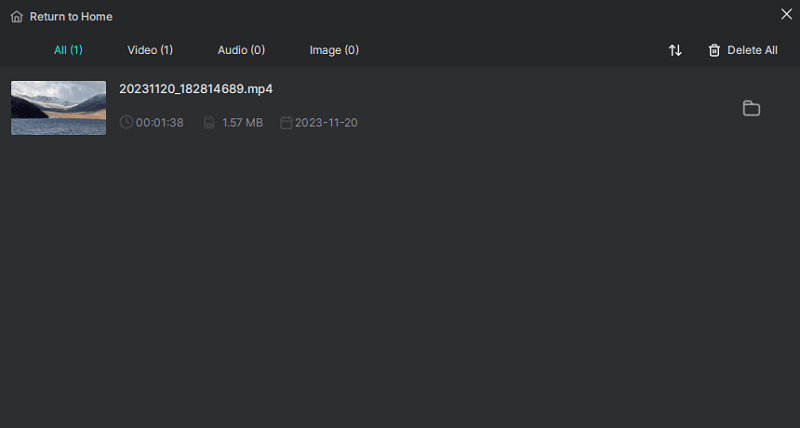
Step 4. Check the recorded video in the popup window.
How to Screen Record on Razer Laptop Online
In addition to using apps, there are online services that work well to screen record on Razer laptop. Whether you are going to record yourself on your laptop or capture the computer screen, you can use ScreenApp.io to record the screen on your Razer laptop without any software.
To screen record on Razer online:
Step 1. Visit ScreenApp.io, click Start Free, and sign in.
Step 2. Select the recording mode.
Step 3. Select the audio type.
Step 4. Click Start Recording Automatically and click Start Recording.
Step 5. Select the window or screen you’d like to record and click Share.
Step 6. Click Stop Sharing to end the recording.
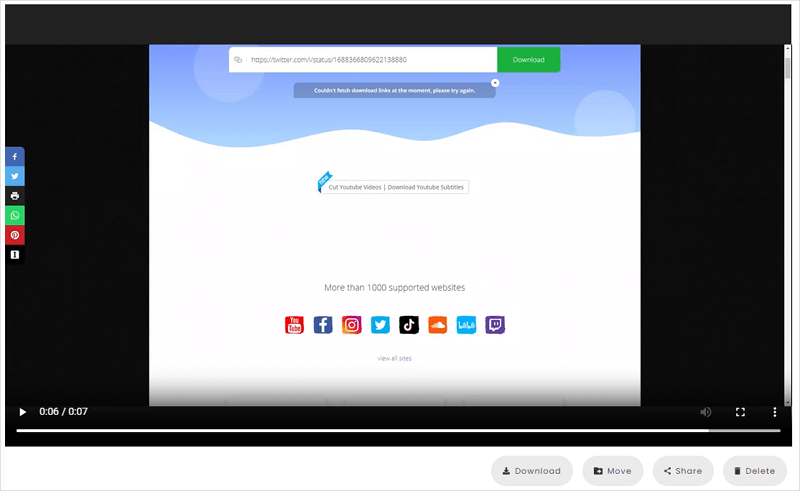
Step 7. Go back to ScreenApp, preview the video, and then click Download.
Wrapping Up
Now you know how to screen record on a Razer laptop using different types of tools. Of course, there are many other choices available. For example, if you want to record and edit video, using Camtasia may suit you better. If you want to record gameplay with advanced support, using Bandicam will be the optimal choice. Specify your needs and apply the tool that fits you best to capture whatever you want.
About the Author
Related Articles
-
4 Tips to Record Discord Stream on Any Device Easily
Whether you are using a computer or a mobile phone, you can find a way to record Discord stream on your device with ease in this guide.
Myra Xian Updated on -
4 Ways: How to Screen Record on Chromebook with Audio
You will know how to screen record on Chromebook with built-in screen recorder apps or screen recording extensions for Chrome.
Myra Xian Updated on -
How to Record Myself on My Laptop in Windows 11, 10, and More
You will know how to record yourself on Windows 10, Windows 11, and more with easy laptop video recorder apps.
Myra Xian Updated on

