Quick Answer:
You can record screen with audio on Windows using:
1. Xbox Game Bar
2. SurFlex Screen Recorder
3. ScreenApp
4. Loom
While recording screen on Windows, audio is also necessary so that you can create more engaging and attractive demonstrations or tutorials. Thus, it’s worth learning how to screen record on Windows with audio, be it system sound or microphone audio, so that you can capture whatever you want. If that’s what you want, check this guide in detail and pick up the way you like to record screen with audio on Windows 10, Windows 11, and more easily.
Table of contents
How to Record Screen on Windows 10 with Audio
Also applies to Windows 11
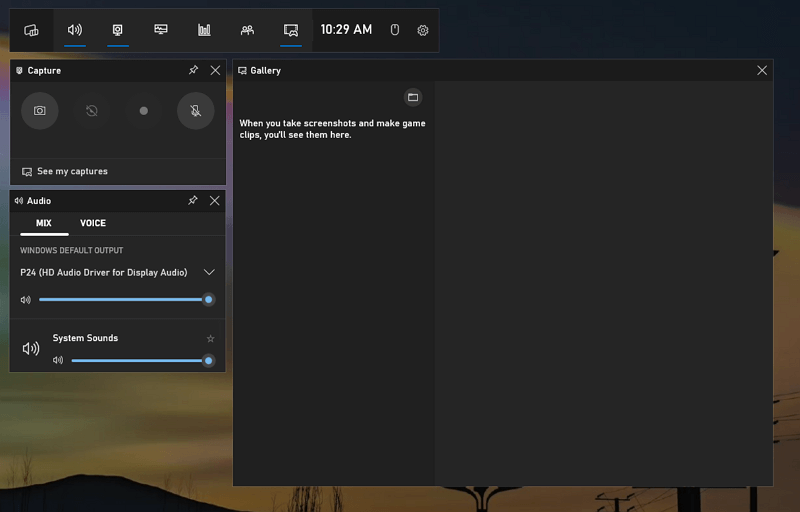
If you need to record screen with audio on Windows 10, you don’t necessarily need a third-party screen recorder since there is a pre-installed screen recorder app available – Xbox Game Bar.
Xbox Game Bar in an easy Windows screen recorder with audio support. Whether you want to record screen on Windows with system sound, microphone sound, or both, it will do it for you. However, although it is simple to record screen with audio on Windows, Xbox Game Bar recording may not suit your needs since it can only record a game or app window. More specifically, it won’t help when you need to record desktop screen, the File Explorer window, or any selected portion of your screen.
If you are sure Xbox Game Bar can help, follow the steps below to record screen with audio on Windows for free.
Step 1. Go to Settings > Gaming > Captures to set the audio recording options.
Step 2. Press Windows + G, click Settings, go to Captures, and then choose the audio input types.
Step 3. Press Windows + Alt + R to start recording screen and audio on your Windows computer.
Step 4. Use the same shortcut to end the recording or click the Stop button to end the recording.
Step 5. Click Game clip recorded to preview the video.
How to Screen Record on Windows 11 with Audio
Also applies to other Windows versions
If you are using Windows 11, Xbox Game Bar is also available for help. But there are other screen recorder apps that may fulfill your needs better, such as SurFlex Screen Recorder. It is compatible with all Windows versions. Whether you are going to record screen with audio on Windows 11, Windows 10, or earlier Windows versions, you can use this Windows screen recorder to capture video and audio from your computer.
When you record screen with audio on Windows 11, you can choose to capture system sound, microphone sound, or both. Besides, there are various screen recording modes that can fulfill your needs in different situations. Whether you want to record the full screen on Windows or record part of screen on Windows, it will get it done perfectly.
To screen record on Windows 11 with audio:
Step 1. Open the screen recorder on your computer and click Settings to set up the output options.

Step 2. To record the screen on Windows with audio, enable audio recording and select the audio type you need.
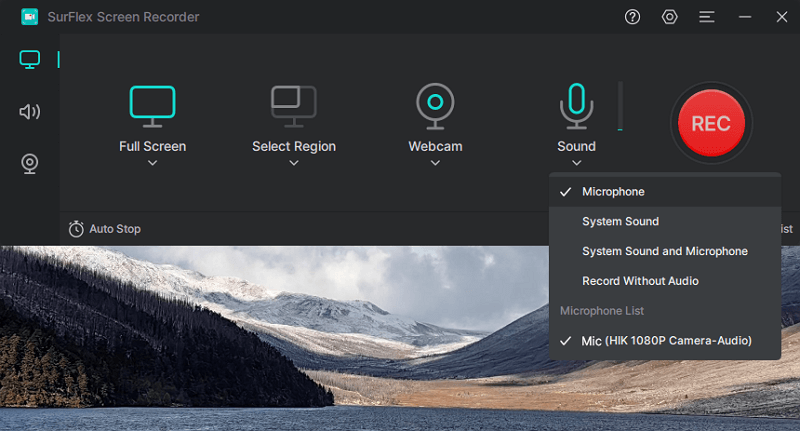
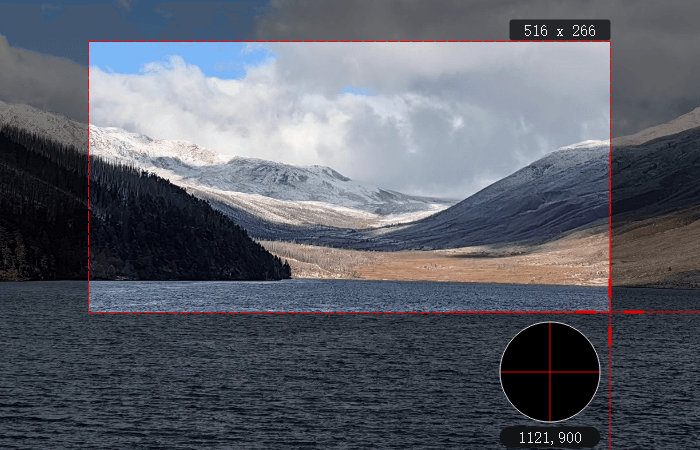
Step 3. Select the recording region, such as your desktop, an app window, or any selected portion, and then click REC to start recording a video on Windows.
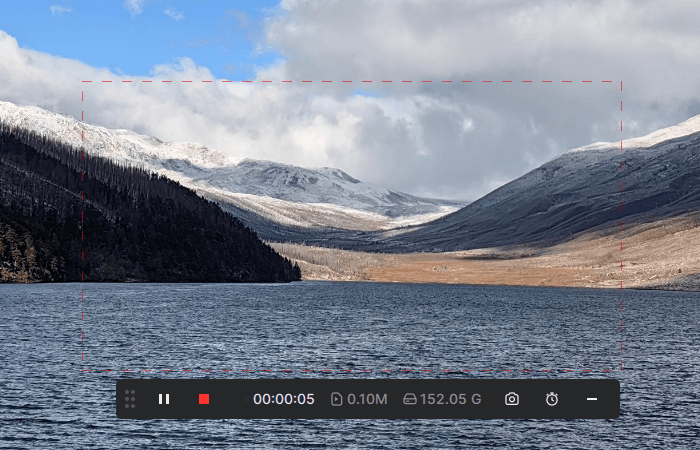
Step 4. After you capture the desired content, click Stop to end the recording.
Step 5. Check the recorded video in the popup window.
How to Screen Record on Windows with Audio Online
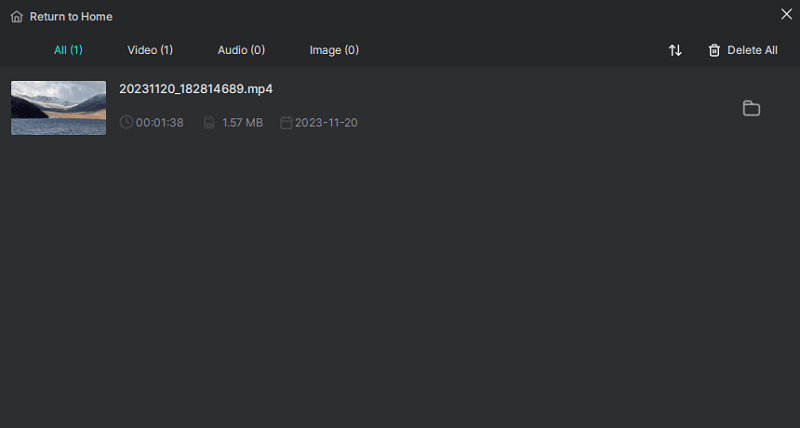
Have you ever wanted to screen record on Windows with audio without any software? If so, you would like an online screen recorder such as ScreenApp. It allows you to record a browser tab, an app window, or the entire screen on your computer with audio, including browser audio, microphone audio, and system audio + microphone audio.
Therefore, when you need to record screen on Windows with audio, it will also do you a favor. Most importantly, it is web-based and is compatible with all Windows operating systems. Whether you want to record screen with audio on Windows 10 or Windows 7, it will do it easily.
To screen record on Windows with audio online:
Step 1. Visit ScreenApp.io, click Start Free, and then sign in with your account.
Step 2. Click New Recording in the top-right corner of the screen.
Step 3. Choose a recording mode and select the audio you’d like to capture.
Step 4. Check Start Recording Automatically and click Start Recording.
Step 5. You may need to select the screen you’d like to record and click Share.
Step 6. When you need to stop, click Stop sharing and go back to the ScreenApp website.
Step 7. Click the Download button to save the recorded video to your computer.
How to Record Screen and Audio on Windows via a Browser
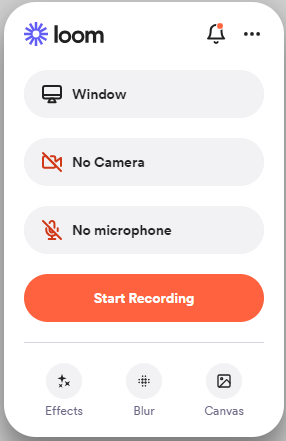
A similar easy way to record screen and audio on Windows as using an online screen recorder is using a screen recording browser extension, such as Loom Screen Recorder & Screen Capture. It is a feature-riched screen recorder available for Chrome, Firefox, and more, allowing you to screen record on Windows easily without software.
To record screen and audio on Windows:
Step 1. Add Loom to your browser, such as Chrome, and pin it to the toolbar.
Step 2. Sign in and finish the basic settings.
Step 3. Click the Loom icon and then select to record Full Screen, Windows, Current tab, or Camera only.
Step 4. Select the audio input options and click Start Recording.
Step 5. Check the screen you’d like to capture and click Share.
Step 6. When you need to stop, click the red Stop icon in the control bar.
Step 7. Preview the video and then share the video via the link or go to the Menu > My Library to download the recording to your PC or laptop.
Wrapping Up
No matter which version of Windows you use, you now know how to screen record Windows with audio using different types of screen recorder tools. To sum up, using an online screen recorder or a browser extension is convenient but may have limited functionality. If you want to screen record Windows with advanced features, getting a third-party professional screen recorder is highly recommended.
About the Author
Related Articles
-
How to Record Gameplay and Discord Audio in 3 Ways
After reading this guide, you will know how to record gameplay and Discord audio on your computer in three ways.
Myra Xian Updated on -
How to Screen Record on Windows 11, 10, 8, 7: Ultimate Guide
There are 7 ways on how to screen record on Windows. Whether you use Windows 11 or Windows 7, you will know how to record screen on Windows.
Myra Xian Updated on -
How to Record Last 15 Seconds on PC in Windows 10 & 11
Check this guide and you will know how to record last 15 seconds on PC in Windows 10, Windows 11, and more using Xbox Game Bar.
Myra Xian Updated on

