Quick Answer:
You can record Valorant gameplay on your computer either with a built-in tool, such as Xbox Game Bar or GeForce Experience (for GeForce GPUs only), or a third-party game recorder like FBX, OBS Studio, or SurFlex Screen Recorder.
Whenever you need to record gameplay on your PC, it is highly recommended to use a professional game recorder for optimal results. By doing so, you can capture gameplay without experiencing lag and ensure high-quality recordings. The same principle applies when recording Valorant gameplay. If you are interested in learning how to record Valorant gameplay, refer to the methods below and choose the one that suits your preferences to apply.
Table of contents
How to Clip Valorant Plays with Xbox Game Bar
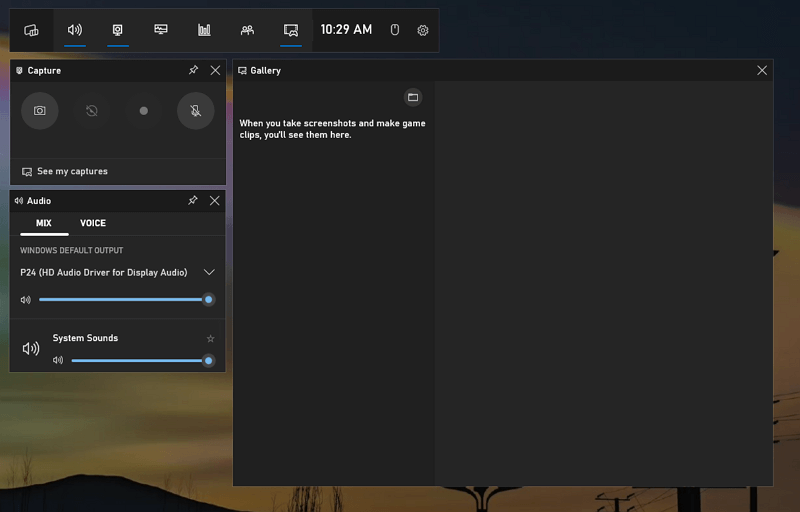
The most convenient way to record Valorant clips on your PC is using the built-in game recorder, Xbox Game Bar. It offers a screen recording shortcut for you to easily record game clips on your computer whenever you want to. Besides, if you have enabled background recording in advance, you can record what happened on your PC to clip the last 15 seconds, 30 seconds, and more.
When you record Valorant games, you can also capture audio from various sources, such as game audio, system sound, microphone, and more, depending on your settings. In conclusion, Xbox Game Bar is quite helpful and easy if you are going to record gaming videos on your PC running Windows 10 or later.
Note: It’s necessary to go to Start > Settings > Gaming > Captures to set the recording options and head to Xbox Game Bar > Settings > Widgets to choose the audio recording option. Afterward, you can follow the easy steps below to perform Valorant recording with ease.
To record a Valorant clip:
Step 1. Go to Valorant and make sure it is currently focused.
Step 2. Press Windows + Alt + R to start recording Valorant gameplay.
Step 3. When needed, press Windows + Alt + R again to end the recording.
Step 4. Head to Videos > Captures to check the game clip.
How to Record Valorant Clips with GeForce Experience
If your computer uses a graphics card by GeForce, then there may be another built-in screen recorder available for Valorant recording, which is GeForce Experience. Its recording feature allows you to record gameplay videos, up to 8K HDR at 30fps or up to 4K HDR at 60fps. If you wish to record Valorant gameplay in high quality, GeForce Experience is a good choice to consider.
Besides, GeForce Experience provides Instant Replay and Highlights features that help to clip the last 15 seconds to 20 minutes on your computer and automatically capture your great gaming achievements. All are amazing features for you gamers.
To record Valorant gameplay with GeForce Experience:
Step 1. Launch GeForce Experience and go to Settings to enable in-game overly.
Step 2. When you are in the game, press Alt + Z to open the in-game overlay.
Step 3. Click Settings > Video Capture to set up the video quality and frame rate. Then click Back.
Step 4. When you need to record Valorant gameplay, press Alt + F9 to start recording a Valorant video.
Step 5. When you are done, press Alt + F9 again to end the recording and save it to your computer.
Step 6. Go to GeForce Experience > Gallery to check the video.

How to Record Valorant Gameplay with FBX Game Recorder
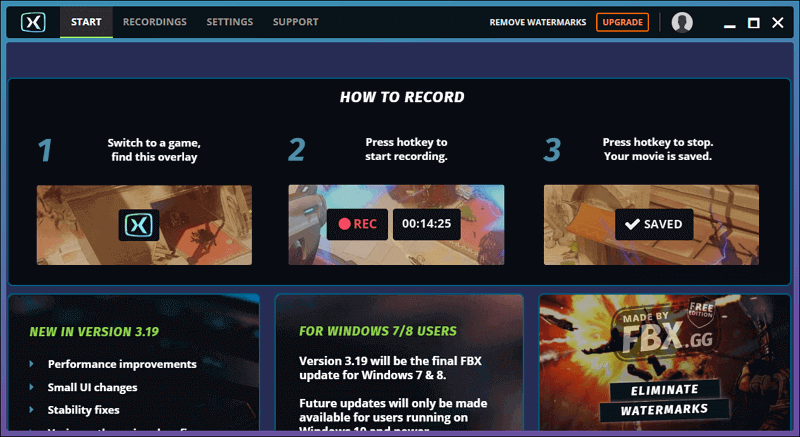
Of course, there are also third-party Valorant recorder apps available for you to record Valorant gameplay, and one such option is FBX Game Recorder. It is an easy-to-use and lightweight game recorder designed for recording various types of 2D or 3D games on Windows. Apart from game recording, FBX also offers video editing features to enhance your recorded videos. If you are looking to record gaming videos for platforms like YouTube, FBX is worth trying out.
To record Valorant with FBX:
Step 1. Download and install FBX Game Recorder on your PC.
Step 2. Launch the FBX Game Recorder and go to Settings > Video to set the video resolution, frame rate, and quality.
Step 3. Then head to Audio and select the audio recording option.
Step 4. Go to Valorant and you will see an in-game overlay.
Step 5. When needed, press Ctrl + F12 to start the Valorant recording.
Step 6. When you are done, press Ctrl + F12 again to end the recording.
Step 7. Go to FBX > Recordings to check the video.
How to Record Valorant Games with OBS Studio
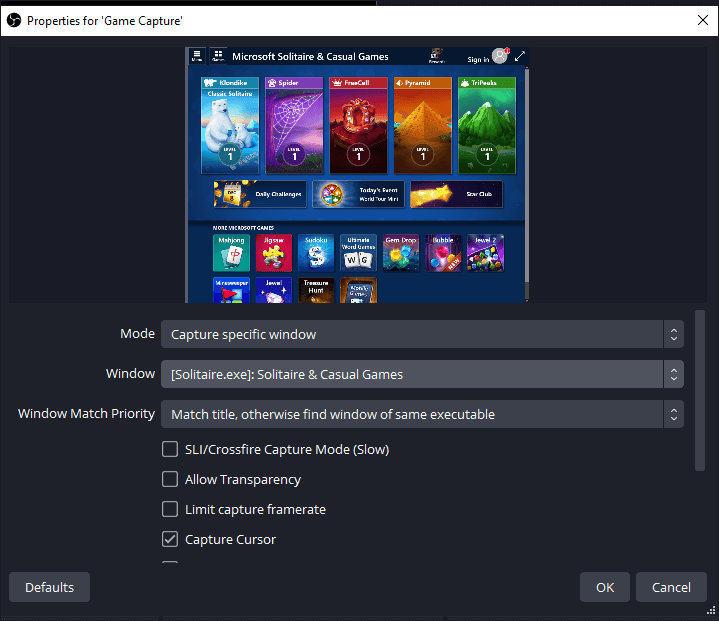
If you are in search of a free tool for recording Valorant gameplay, don’t overlook OBS Studio. It provides robust features that allow you to record any on-screen content or activities on your PC or Mac. Additionally, OBS Studio offers a game capture source, enabling you to enhance your game recording experience. When you need a free and powerful game recorder, don’t hesitate to give OBS Studio a try.
To record a Valorant video with OBS Studio:
Step 1. Download and install OBS Studio on your computer.
Step 2. Launch OBS Studio and go to File > Settings > Output to select the video format and quality you need.
Step 3. Go to the Sources panel and click Add Source to add the recording sources you need, such as Game Capture and Audio Output Capture.
Step 4. Set up the recording sources properly.
Step 5. Click Start Recording in the Controls panel to start the Valorant recording.
Step 6. When necessary, click Stop Recording.
Step 7. Go to Settings > Show Recordings to check the video.
How to Clip Valorant Gameplay with SurFlex Screen Recorder
Whether you intend to record Valorant clips exclusively or capture yourself playing Valorant, SurFlex Screen Recorder can assist you in achieving your goals. This user-friendly screen recorder enables you to capture any desired video or audio content while providing customization options for output settings based on your preferences. Additionally, SurFlex Screen Recorder offers an online version that is completely free to use, with no watermark or time limits imposed on your recordings. If you prefer the convenience of an online screen recorder, SurFlex Online Free Screen Recorder can be a valuable tool to assist you.
To clip Valorant gameplay:
Step 1. Launch the screen recorder and click Settings.

Step 2. Set up the output settings and then click OK.
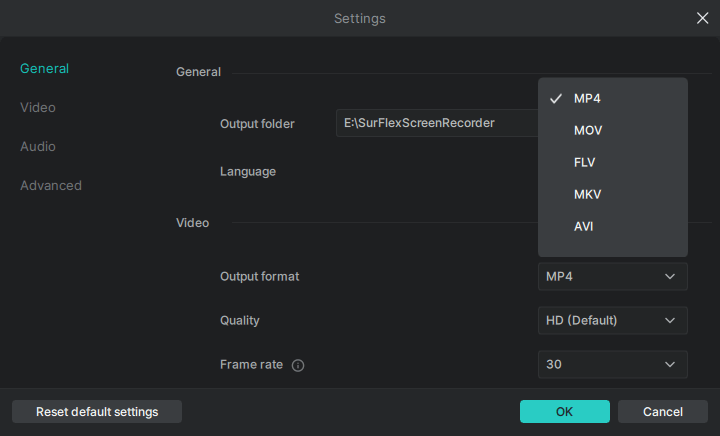
Step 3. Enable audio recording and select the audio recording option you need. Then choose to record the full screen or a selected region.
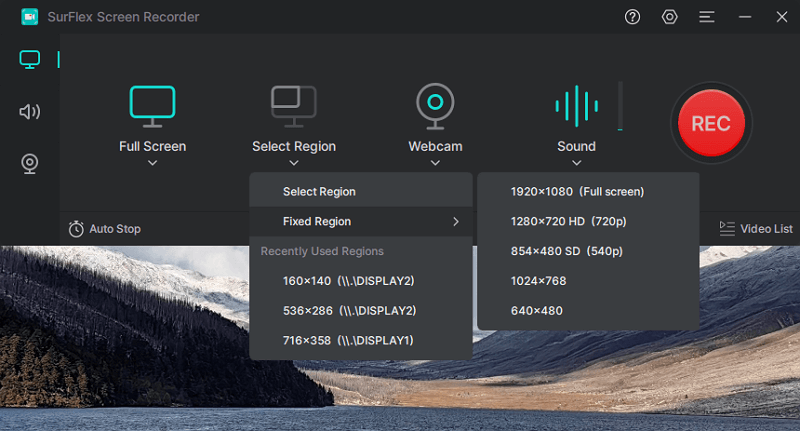
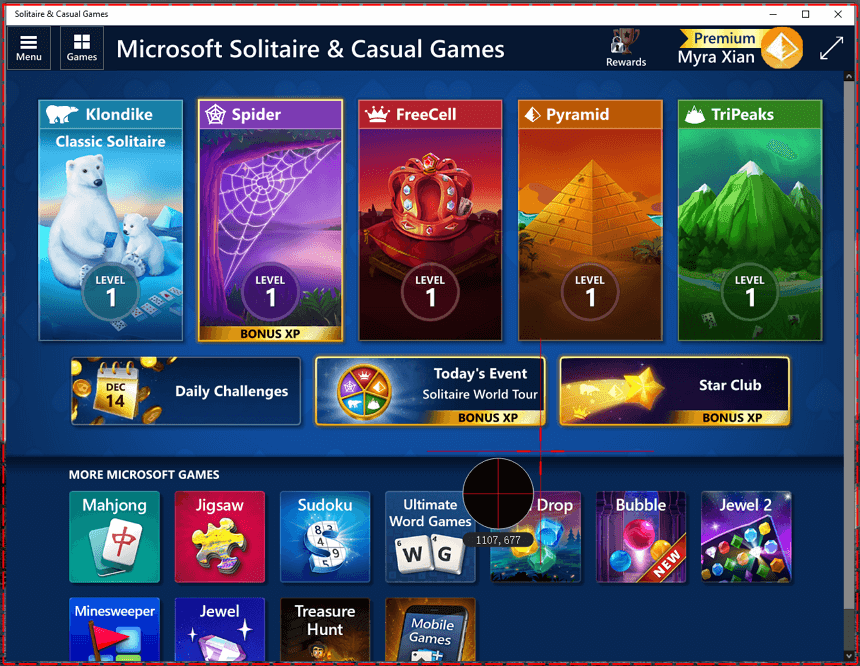
Step 4. Select the game window and then click REC. The recording will start after five seconds (you can change it in Settings).
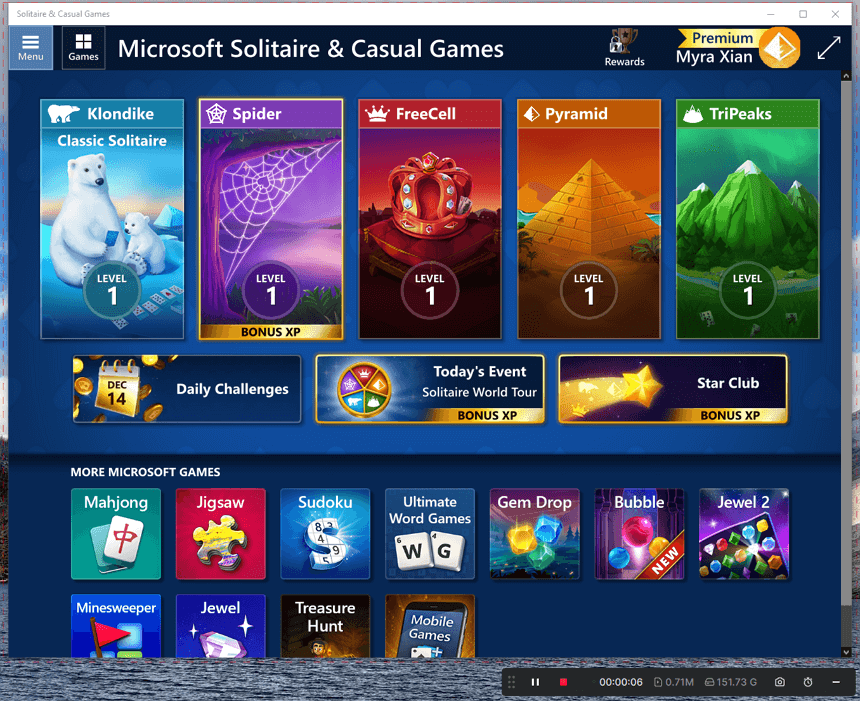
Step 5. After you record gameplay on your PC, click Stop in the Controls bar and then check the game video in the recording list.
Wrapping Up
The best way to Valorant gameplay may vary depending on your specific recording requirements. In most cases, the built-in game recorder on your computer can fulfill the basic needs of game recording. However, if you desire more advanced features and functionalities, it becomes necessary to use a professional game recorder like FBX. These advanced tools offer additional capabilities to enhance your recording experience and provide more flexibility in capturing Valorant gameplay.
About the Author
Related Articles
-
How to Record Minecraft for Free: 3 Proven Ways
Read this guide and you will know how to record Minecraft for free on your PC with free Minecraft recording software or service.
Myra Xian Updated on -
3 Ways to Record League of Legends on Mac
Check the easy tips in this guide to learn how to record League of Legends on Mac with either built-in or third-party screen recorders.
Myra Xian Updated on -
How to Record Gameplay on PC Windows 10 | Super Easy
Check the easy tips in this guide and you will know how to record gameplay on PC in Windows with different game recorders.
Myra Xian Updated on

