Quick Answer:
If you don’t know how to record screen on Windows 10, use one of the tools below:
1. Xbox Game Bar
2. SurFlex Screen Recorder
3. Movavi Screen Recorder
If you have been puzzled about how to record your screen on Windows 10, you have come to the right place. We have compiled a collection of tested and effective methods to help you record screen on Windows 10, with or without audio. Keep reading to check the details and choose the method that suits you best for screen recording on Windows without any hassle.
Table of contents
How to Record Screen on Windows 10 with Xbox Game Bar
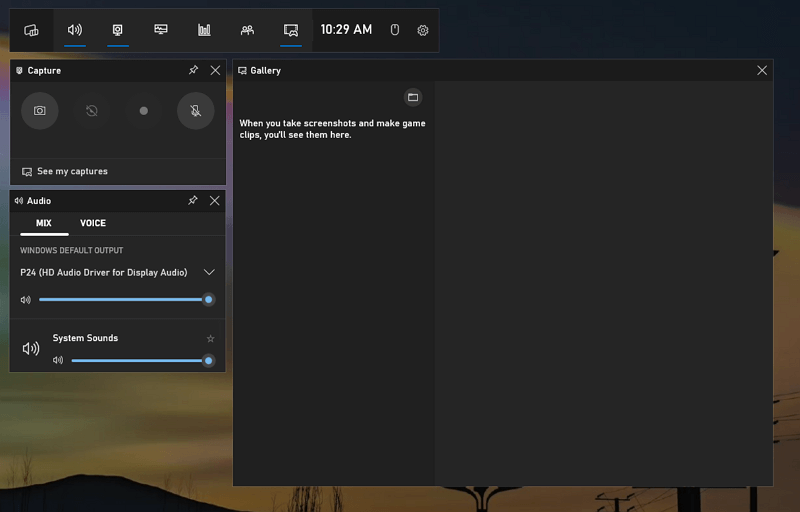
If you are looking for a free screen recorder for Windows 10, then Xbox Game Bar is the tool you need. it is available in Windows 10 or later and provides a free and direct way to screen record Windows 10 without any software installation. (Yes, you can also use it to screen record Windows 11.)
The Xbox Game Bar enables you to record your screen with audio, including the audio from the game, apps, enabled microphone, and system. Therefore, if you want to know how to screen record on Windows 10 with audio, Xbox Game Bar is the exact solution you need.
However, there are some downsides to using this free app. It only works to record a game or an app (excluding File Explorer). That means you cannot record the full screen or a selected region on your PC or laptop. Therefore, as its name indicates, this free Windows 10 screen recorder is only suitable for capturing gameplay.
To record screen on Windows 10:
Step 1. Prepare the game or app you want to capture.
Step 2. Press Windows + Alt + R to start screen recording Windows 10 PC or laptop.
Step 3. Click the Stop button in the small control panel to stop recording or Press Windows + Alt + R again to end the screen recording.
Step 4. When you see Game clip recorded, click it and it will bring you to the preview panel.
How to Screen Record on Windows 10 Without Game Bar
Although Xbox Game Bar is free and convenient to use, it may not meet your screen recording needs sometimes. For example, if you want to record the entire screen on your Windows computer, it can’t help. If you want a more flexible and capable Windows 10 screen recorder, it’s necessary to apply a third-party screen recorder so that you can record everything on your computer. Here you can try SurFlex Screen Recorder – an easy and powerful screen recorder for Windows 10.
SurFlex Screen Recorder offers a wide range of screen recording modes that allow you to capture your screen, window, game, and webcam with or without audio. While recording, you can add annotations and take screenshots as needed. Once you are done recording, you can edit the video to make it more concise and appealing.
To record screen on Windows 10 without Game Bar:
Step 1. Click Settings to choose the video format and quality, and then enable audio recording and select the audio type you’d like to capture.

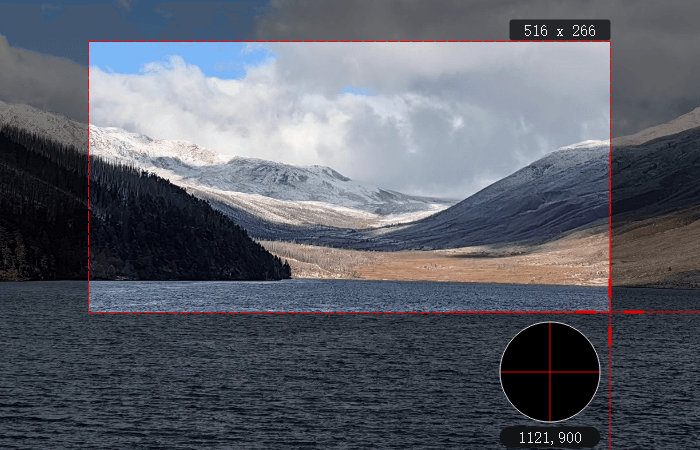
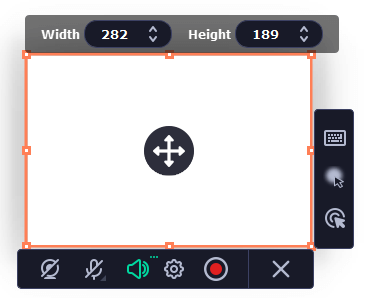
Step 2. Choose to record the full screen or a selected portion/window and then select the target area. Afterward, click REC to start recording the screen on Windows.
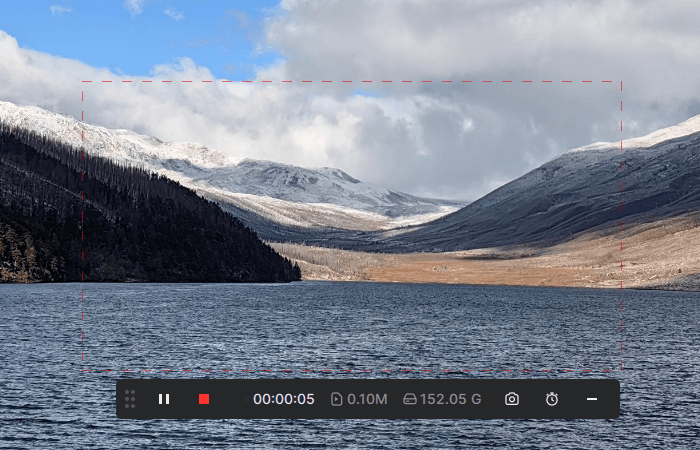
Step 3. Wait for the screen recording to finish, and then click Stop when necessary.
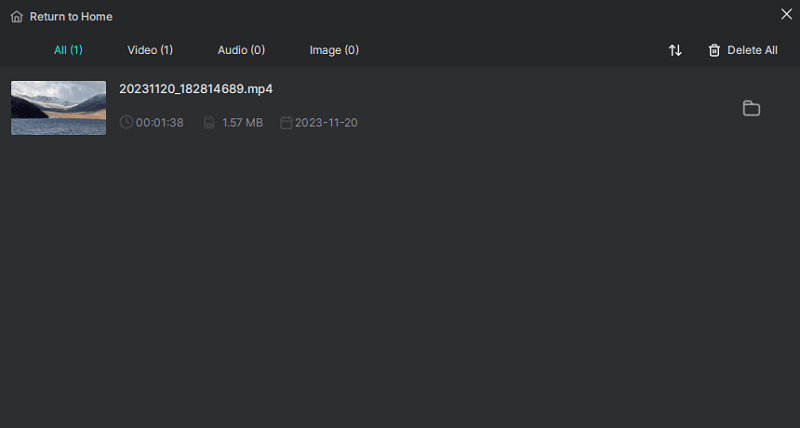
Step 4. Check the recorded video in the popup recording list window.
How to Screen Record on Windows 10 with Audio Freely
All the ways above will help you screen record on Windows 10 with sound. But it’s always better to have a backup option. If you need to capture your screen on Windows 10 often to create tutorials or share content, using Movavi Screen Recorder is also a good choice.
You will like the easy and clean interface and the powerful features it provides. Whether you want to capture your screen or webcam, all audio or none, it will do it for you as you expected.
However, it only provides a 3-day free trial. Afterward, you have to pay for it so that you can use it for screen recording on Windows.
To screen record Windows 10 with audio:
Step 1. Launch Movavi Screen Recorder on your Windows 10 PC or laptop.
Step 2. Select the region you want to record and set the recording settings.
Step 3. Click the REC button to start.
Step 4. During the recording, you can take screenshots and add markups freely.
Step 5. Click the Stop button to end the recording.
Windows Screen Recording: FAQs
When you record screen on Windows, you may also want to know:
Yes, Windows PC and laptop have a built-in screen recorder called Xbox Game Bar. It allows you to capture your game or apps with both internal and external audio.
Using SurFlex Screen Recorder can help you record your screen with sound:
1. Choose a recording mode.
2. Select the region or window you want to capture.
3. In the audio section, choose System sound, Microphone, or System Sound and Microphone.
4. Click REC to start recording Windows 10 screen.
To record full screen on Windows, you will need a professional screen recorder such as:
1. SurFlex Screen Recorder
2. Movavi Screen Recorder
3. Snagit
4. Bandicam
Wrapping Up
With the tips provided above, you will be able to record everything on your computer. Third-party screen recording apps are also compatible with other versions of Windows, including Windows 7, 8, and 11. Therefore, you can use them to record your screen regardless of your operating system. Determine your needs and choose the method that best suits your requirements.
About the Author
You May Also Like
-
4 Tips: How to Screen Record on Windows 7
With the 4 tips here you will know how to record screen on Windows 7 using an built-in app or third-party Windows 7 screen recorder tools.
Myra Xian Updated on -
How to Screen Record Apple Music on Any Device
If you are wondering how to screen record Apple on your iPhone or computer, check this guide and you will know how to do it.
Myra Xian Updated on -
How to Screen Record on Toshiba Laptop in 4 Tested Ways
Whether you are using Windows 7 or Windows 11, you will know how to screen record on Toshiba laptop successfully.
Myra Xian Updated on

