Quick Answer:
You can record internal audio on Windows 10 with SurFlex Screen Recorder, Audacity, Voice Recorder (poor audio quality), or Voice Recorder and Stereo Mix.
When it comes to audio recording on Windows, there are different scenarios to consider. Some may need to record audio on Windows 10 using a microphone to capture their own voice, while others may want to record computer audio to capture system sound, such as recording audio from YouTube.
Since the methods for recording voice on a PC have already been explained in detail (use the preinstalled Voice Recorder), I will now provide guidance on how to record internal audio on Windows 10, be it a laptop or PC. By following these tips, you will be able to capture any audio you desire from your computer.
Table of contents
How to Record Internal Audio on Windows 10 Easily
Tool: SurFlex Screen Recorder
Whether you need to record computer audio, your own voice, or both, you can rely on the easy and powerful audio recorder, SurFlex Screen Recorder, to capture the desired sounds. This application simplifies the process of recording internal audio on Windows 10, allowing you to effortlessly capture the audio you hear. Additionally, you have the flexibility to customize the audio format and bitrate to suit your preferences.
It’s worth mentioning that SurFlex Screen Recorder also works to record a video on PC. When you need to screen record on Windows 10 with audio, be it internal audio or external audio, it will also be a viable choice.
To record system audio on Windows 10:
Step 1. Open SurFlex Screen Recorder, click Settings to set up the output options, and then choose the Record Audio mode.

Step 2. To record internal audio on Windows, choose the System Sound option. Then click REC to start recording audio coming from your computer.
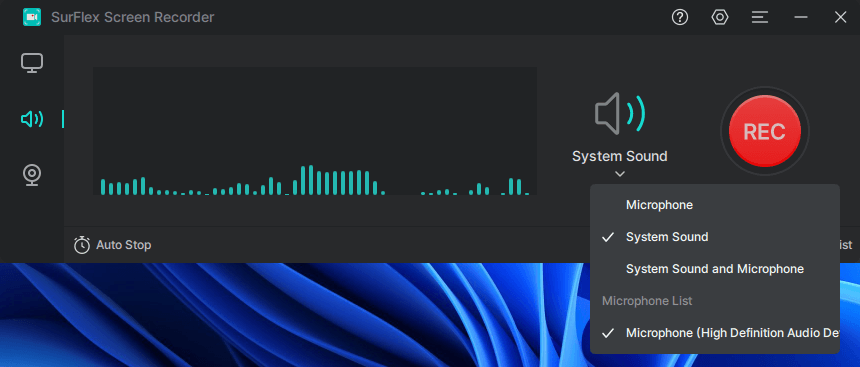
Step 3. Once the recording is completed, click Stop.

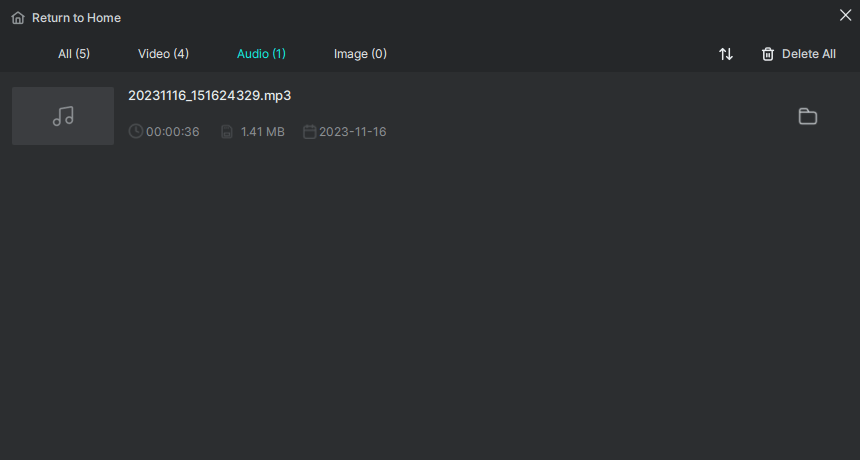
Step 4. Check the audio recording in the popup window.
How to Record Computer Audio on Windows 10 for Free
Tool: Audacity
Audacity is indeed a popular choice for recording audio on Windows 10. Its popularity stems from the fact that it is a free and open-source audio recorder and editor, allowing you to record internal audio on your PC and edit the recordings according to your preferences without any cost.
When using Audacity to record desktop audio, you have the option to save the audio file in MP3, WAV, or OGG format. If this meets your requirements, follow the steps below to record sound from your computer.
To record internal audio on Windows 10 for free:
Step 1. Download and install Audacity on your PC or laptop.
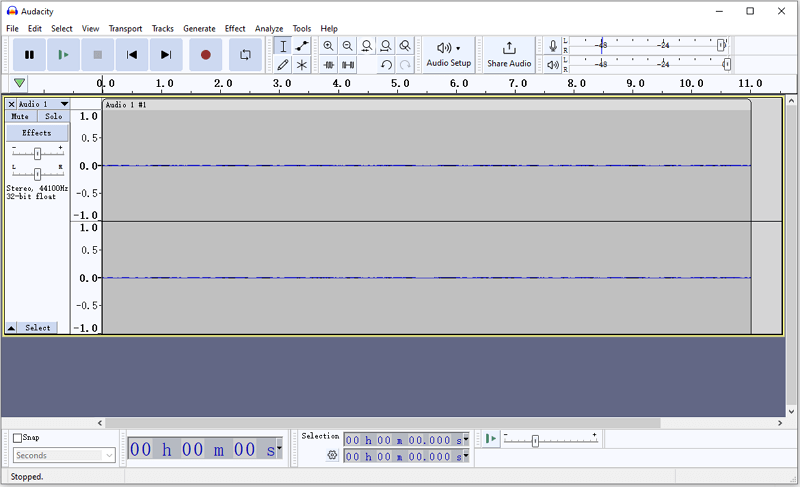
Step 2. Go to Audio Setup > Host and choose Windows WASAPI.
Step 3. Then head to Audio Setup > Recording Device and select the audio recording device.
Step 4. When you are ready to record, click the Record button.
Step 5. Click the Stop button to end the recording when needed.
Step 6. Go to File > Export to save the audio file to your computer.
How to Record Desktop Audio on Windows 10 Directly
Tool: Voice Recorder
If you don’t mind the poor quality of the recorded audio, you can use the pre-installed Voice Recorder to capture audio from your computer. As the name suggests, Windows 10 Voice Recorder is primarily designed for external audio recording, such as microphone sound and audio from other external sources.
The reason it can also capture system audio on your PC or laptop is that the audio can be played through the computer’s speakers and then picked up by the microphone, allowing the Voice Recorder to capture it. This is why the audio quality recorded through this method is low. If you want to record high quality audio, choose one of the other ways instead.
To record internal audio on Windows 10 via Voice Recorder:
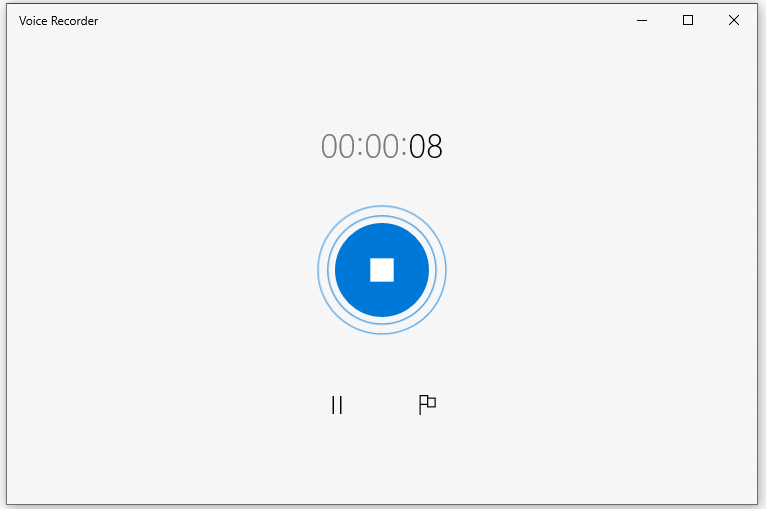
Step 1. Launch Voice Recorder from the Start menu.
Step 2. Click the blue Record button to start recording audio.
Step 3. When the recording is completed, click the Stop button.
Step 4. Trim and rename the audio if necessary.
Step 5. Right-click the audio file in the list and choose Open file location to find the audio recording.
How to Record System Sound on Windows 10
Tool: Stereo Mix
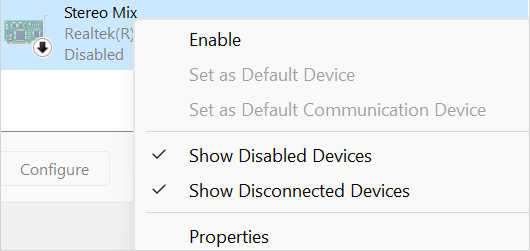
Stereo Mix is indeed a feature available in Windows operating systems that enables you to record audio played through your computer’s sound card. Once you have properly configured Stereo Mix, you can directly record internal audio on your computer using Voice Recorder. This means you can utilize it to capture system sound on Windows 10 without the need for any additional software installation.
To record system sound on Windows 10 via Stereo Mix:
Step 1. Go to Start > Settings > System on your PC or laptop.
Step 2. Click the Sound tab and choose Sound Control Panel under Settings.
Step 3. Go to the Recording tab, right-click Stereo Mix, and click Enable > OK.
Step 4. Open Voice Recorder and click Record in the middle of the screen to capture your system sound.
Wrapping Up
As you can see, the optimal approach to recording audio from your computer is by utilizing a third-party audio recorder such as SurFlex Screen Recorder. It strikes a balance between ease of use and audio quality, enabling you to effortlessly capture internal audio from your computer, regardless of the Windows version you are using. Additionally, this tool is capable of recording video on your computer, providing a convenient solution for screen recording on Windows with audio. If this is what you are looking for, do not hesitate to give it a try.
About the Author
You May Also Like
-
How to Record MP3 on Windows 10 in 4 Different Ways
Read this guide to learn how to record MP3 on Windows 10 easily to capture internal audio, external audio, or both.
Myra Xian Updated on -
5 Ways to Record Streaming Audio on Mac and PC
Whether you want to record streaming audio with Audacity, on Mac, or for free, you can find the answer you need in this guide.
Myra Xian Updated on -
4 Ways to Record WAV File on Windows 10
This guide will show you how to record WAV file on Windows 10 with easy and proven tips. Pick up any of them to apply.
Myra Xian Updated on

