

Updated on
Do you want to make your own music video but don’t have a studio or expensive tools? Don’t worry. You can still create a great DIY music video right at home. With the help of CapCut, a free and easy-to-use video editing app, you can turn simple clips into something really cool.
You don’t need a fancy camera or a big crew. You just need your phone or laptop, some creative ideas, and a little bit of time. Even better, you can use smart tools like text to speech. This means you can write some text, and the app will read it out loud in a natural-sounding voice. It’s very helpful if you don’t want to record your own voice.
Getting Started — Planning Your Music Video
Choose Your Song and Idea
Start by choosing your music. You can use your own song, a free track, or royalty-free music from the internet. Pick a song that fits your style and energy. After that, think about what kind of video you want to create. Do you want a video of you singing or dancing? Do you want a story with characters? Or maybe just some cool clips of places, objects, or nature?
Keep your idea simple if this is your first time. You can always do more in your next videos.
Record Your Video
Use what you already have. Your phone camera is good enough. Try to shoot your video during the day using natural light. You can record indoors near a window or outside in the morning or evening when the light is soft. Make sure the phone stays steady—use a small tripod or place it on a flat surface. Record a few different clips, from different angles and locations. This gives you more to work with later when you edit.
Edit Your Music Videos with CapCut Desktop Video Editor
Once you have gotten the video, you can use a video editor like CapCut to DIY your music video. Below are the detailed operations.
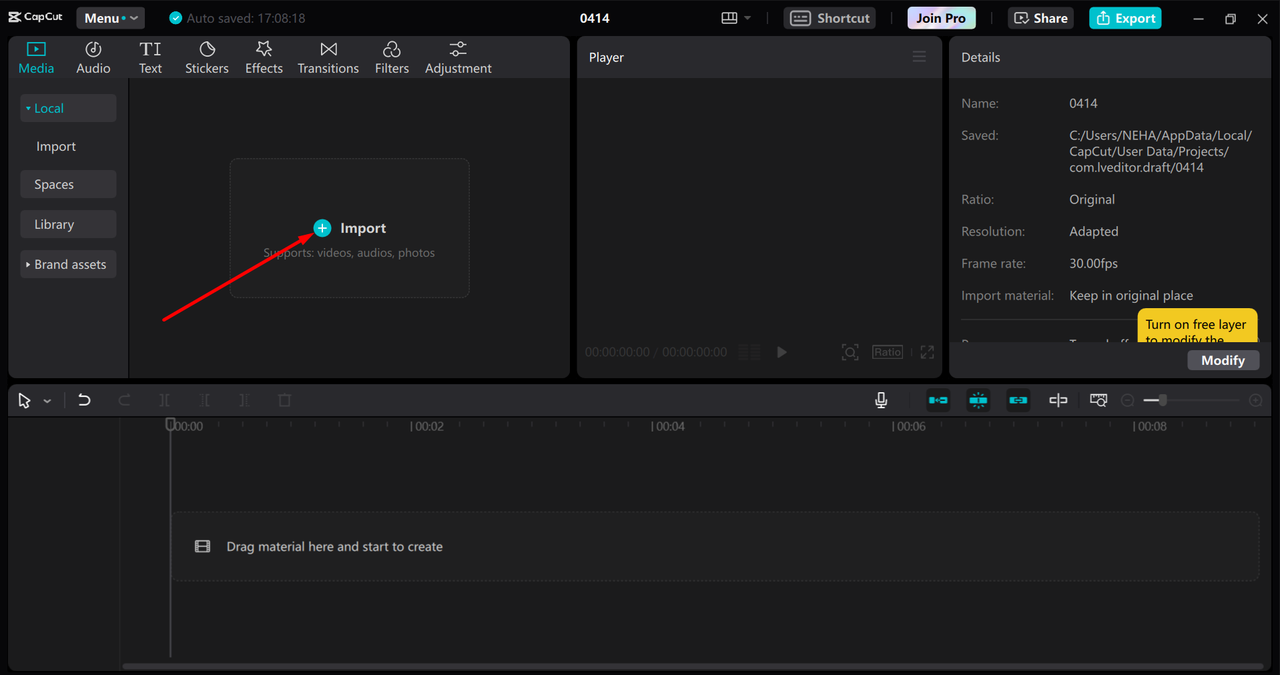
Import Your Videos
Open CapCut on your computer and click on “Create Project.” Now import all your video clips and music. Drag and drop them into the timeline. Cut the parts you don’t need. Move the clips around to match your music. You can make fast cuts or slow scenes depending on the beat of the song.
Add Effects and Filters
CapCut has many built-in filters, effects, and text options. You can add cool filters to give your video a certain look—like dreamy, vintage, or colorful. Use transitions to move smoothly between clips. Try slow motion, fast forward, and zoom for extra fun.
If you want to create something even more unique, try using an AI video generator. These smart tools can help you make animations, fake backgrounds, or even special effects that look professional. AI tools are a great way to save time and add creative ideas to your project—especially if you’re working alone.
Make Your Video More Fun and Engaging
If you would like to make your music video more interesting and engaging, you can try some advanced edits like below.
Add Captions and Stickers
You can write the lyrics or funny lines on your video using CapCut’s text tool. Adding captions helps people follow along with the music. CapCut can also add captions automatically using voice recognition. You can then add fun stickers, emojis, and little drawings to make the video more exciting and playful.
Use Transitions and Sound Effects
Use transitions like fade, slide, or spin between scenes to make your video smoother and more dynamic. You can also add extra sound effects – like claps, beats, or whooshes—where needed. These small touches can really improve the final video and make it feel more professional.
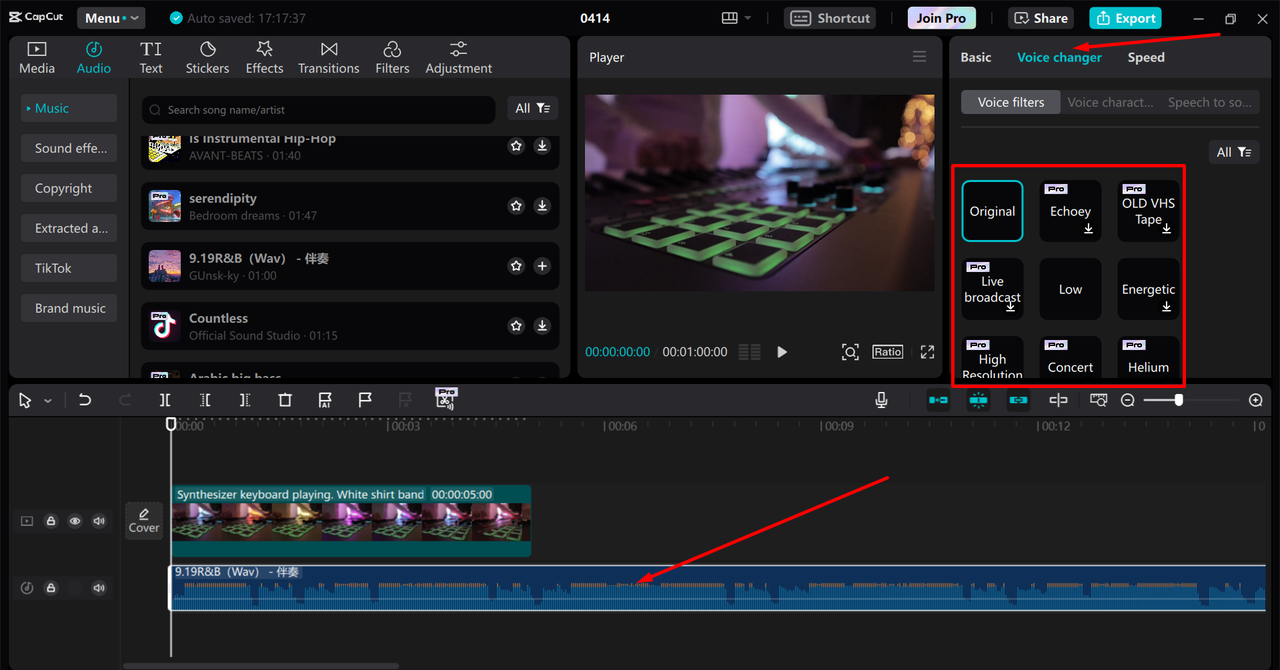
Bonus Tip: Change the Voice with CapCut’s Voice Changer
Now, let’s talk about how to use the voice changer in CapCut. This feature lets you change your voice to sound funny, deep, fast, or robotic. You can use it to make your video more fun, to play different characters, or to match the mood of your video.
Using a voice changer helps make your video stand out. If you are shy or want to sound different, this is a great tool. Many creators use it for funny voices, storytelling, or to add a surprise element. It’s a simple way to add personality to your project.
Here is a step-by-step guide on how to use the voice changer in CapCut for PC.
Step 1. Import Your Video
Open CapCut on your desktop. Start a new project. Add your video clip that has your voice or audio.
Step 2. Apply the Voice Changers
Click on the audio or voice part of your video. Choose “Voice Changer” from right-side panel. You’ll see many options like robot, chipmunk, deep voice, echo, and more. Pick the one you like and play it back to hear the change. You can always switch and try different ones until you are happy.
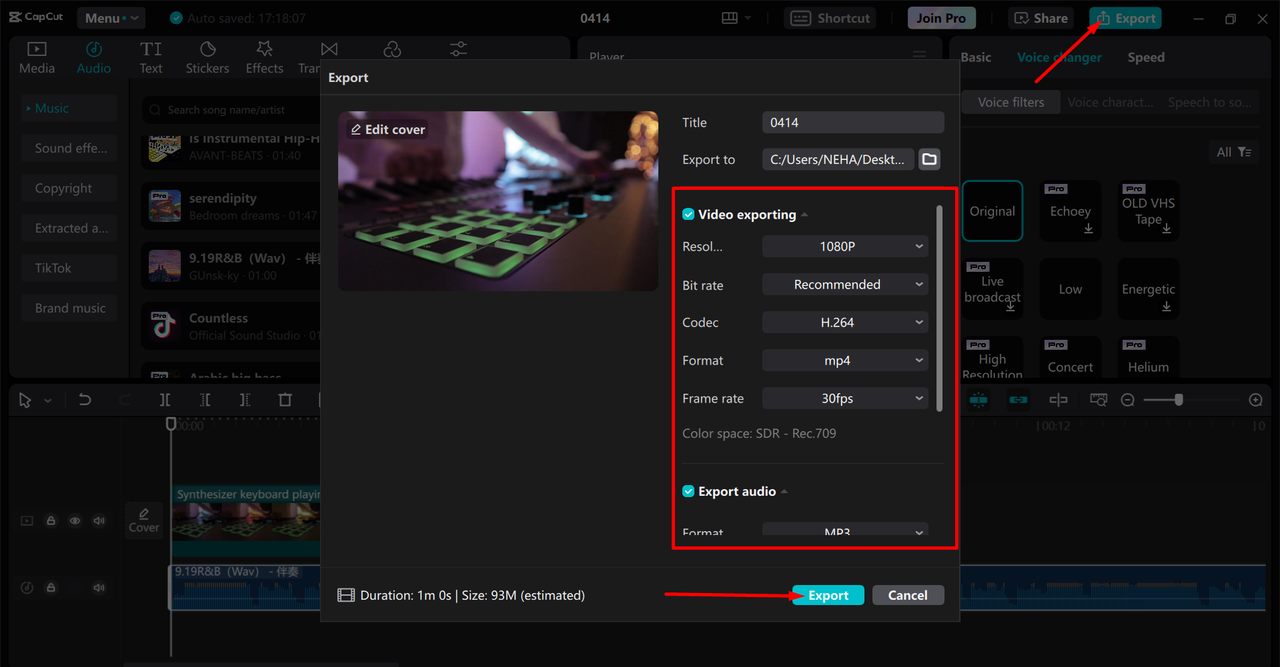
Step 3. Export the Video
Once you finish editing and adding effects, click on “Export.” Choose your file name, resolution, and quality. Save your video to your computer and get ready to share it.
Final Touches and Sharing Your Video
Add Captions, Hashtags, and Links
Before you share your music video on social media, add a caption. Tell people what your video is about or why you made it. Add hashtags to help others find your video. For example: #DIYMusicVideo, #CapCutEdit, #HomeStudio, etc. You can also add links to your music or channel.
Choose the Right Settings for Each Platform
CapCut lets you save your video in different formats. For TikTok or Instagram Reels, choose the tall (vertical) format. For YouTube, choose the wide (horizontal) format. Also, pick a good thumbnail—something bright and clear that makes people want to click.
Final Thoughts
You just learned how to make a music video without a studio! With CapCut, your phone, and free tools like text-to-speech generator, AI video generator, and voice changer, you can create something amazing.
Don’t wait for perfect gear. Start now, keep learning, and keep creating. Share your videos and show the world your talent. Every big creator started small—so why not you?
About the Author
Related Articles
-
How to Record Audio on Mac with External Mic in 3 Ways
After reading this guide, you will know how to record audio on Mac with external mic with either the built-in or third-party audio recorders.
Myra Xian Updated on -
3 Ways to Record YouTube Audio on Mac
If you are wondering how to record YouTube audio on Mac, read this guide and learn how to do it with proven ways.
Myra Xian Updated on -
4 Easy for Recording Pandora on Any Device
Check the tips for Pandora recording and use any of them to successfully record Pandora music on your computer or mobile.
Myra Xian Updated on