Quick Answer:
You can record a GIF on your Mac or PC by using one of the following tools: ApowerREC, ScreenToGif, GIFCap, or Chrome Capture. With any of them, you will be able to record GIFs on your computer with a few simple clicks.
GIFs are generally more convenient for sharing compared to other video formats due to reasons such as their small file size, autoplay feature, and cross-platform compatibility. Therefore, when recording a video on your PC or Mac, you may prefer to record it as a GIF to take advantage of these benefits. If you choose to do so, you can explore the following GIF screen recorder tools or services and use any of them to easily record GIF on a Mac or PC.
Table of contents
Record a GIF on Mac or PC
Tool: ApowerREC Screen Recorder
Whether you want to capture a GIF on your Mac or Windows PC, you can use the ApowerREC Screen Recorder to easily accomplish this task. This powerful screen recorder allows you to capture any content on your computer and save it as a GIF. Additionally, you have the flexibility to adjust the video quality, frame rate, and other relevant options, enabling you to save the GIF video to your preferred settings. If you frequently need to capture on-screen content and not just record screen to GIF, I recommend trying this professional screen recorder, which will be quite useful.
To record GIF on Mac or PC:
Step 1. Download and install ApowerREC Screen Recorder on your Mac or PC.
Step 2. Click Settings and go to the Video section.
Step 3. Select GIF as the output format, customize other recording settings, and then click OK to save the changes.
Step 4. Choose to record the full screen or a custom region and then select the recording area.
Step 5. Once ready, click REC and the GIF recording will start in three seconds.
Step 6. When you are finished with the recording, click the Stop button and check the GIF video from the recording list.

Whenever you want to record a video on PC or Mac, you can use this screen recorder to get it done.
Record GIF on Windows
Tool: ScreenToGif
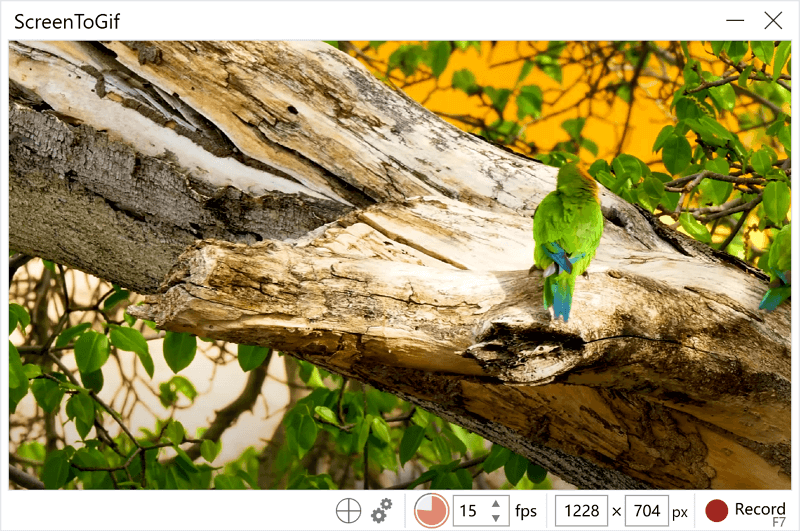
ScreenToGif is a free and open-source software program that allows you to record your computer screen and save it as an animated GIF file. It provides a user-friendly interface and offers various features for capturing and editing screen recordings. With ScreenToGif, you can select a specific region of your screen to record, adjust frame rates, add text or captions, and even edit the recorded frames before saving them as a GIF. It is compatible with Windows and is often used for creating tutorials, demonstrations, or sharing short clips of screen activity in GIF format. Therefore, it’s a handy tool for you to record GIF on Windows PCs for free.
To record a GIF on Windows PC:
Step 1. Download and install ScreenToGif on your PC.
Step 2. Click Recorder and select the recording region and video frame rate.
Step 3. If necessary, click the Settings icon to finish advanced recording settings.
Step 4. Press F7 to start recording the screen.
Step 5. When needed, press F8 to end the recording.
Step 6. Edit the recording according to your needs.
Step 7. Go to File > Save as.
Step 8. Set up the Encoder options and Export options.
Step 9. Click Save to save the GIF to your computer.

Capture a GIF Online
Tool: GIFCap
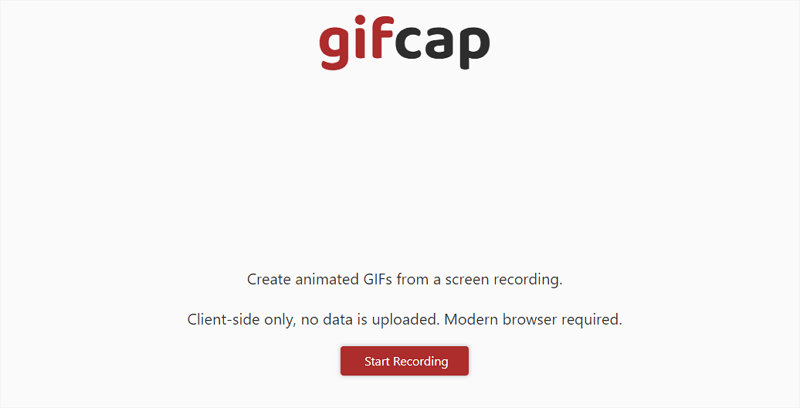
Although a desktop app generally provides more advanced features than an online service, it is less convenient to use. If you only need a GIF screen recorder to capture GIFs rather than other types of videos, you can consider using an online GIF recorder like GIFCap. This lightweight GIF creator allows you to make GIFs from a browser tab, an app window, or the entire screen. Besides, you can trim the recording before downloading the GIF to your computer.
However, there is a disadvantage of using this app: you can customize the recording region. That means you can’t record part of your browser tab, an app window, or the screen to make a GIF. If you don’t mind, you can follow the steps below to record GIF online.
To capture a GIF online via GIFCap:
Step 1. Open your browser and navigate to GIFCap.
Step 2. Click Start Recording.
Step 3. Choose the target recording tab, window, or screen and then click Share.
Step 4. After the recording, click Stop Sharing or Stop Recording.
Step 5. Go back to GIFcap, trim the video if necessary, and then click Render.
Stop 6. Click Download to save the GIF video to the Downloads folder on your computer.

Record Screen to GIF via Chrome
Tool: Chrome Capture
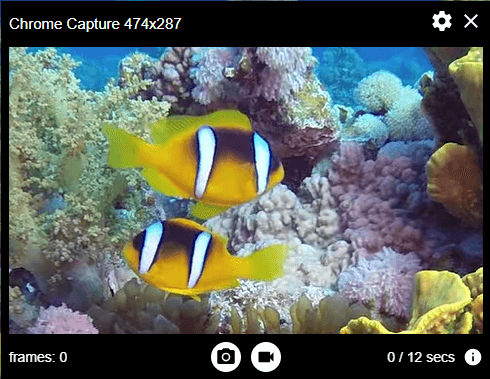
Another option for creating GIFs is through web-based GIF screen recorders, such as browser extensions like Chrome Capture. By adding this extension to your browser, you can easily record a selected portion of your browser tab, the entire tab, an application, or even the entire screen. Additionally, Chrome Capture offers a range of video editing features to enhance your GIFs. If you’re looking for a user-friendly and powerful tool, give Chrome Capture a try. Here I’d like to show you how to record a GIF from a browser tab.
Note: Chrome Capture is not completely free to use: it provides limited functionality in its free version (which I think is enough for making GIFs). If you want to enjoy its full features, you will need to buy a subscription plan.
To record the screen to GIF via Chrome Capture:
Step 1. Add Chrome Capture to your browser and pin it to the toolbar.
Step 2. Click Chrome Capture and choose Selected Area.
Step 3. Select the recording area and click the record icon.
Step 4. When needed, click it again to stop recording.
Step 5. Edit the recording if you need to.
Step 6. Click Save, check the output settings, and click Save again.
Step 7. Go to the Downloads folder to check the GIF file.

Wrapping Up
Whether you are planning to record GIFs on Windows or Mac, you can find suitable solutions to meet your needs. In conclusion, if your primary focus is creating GIFs from recordings, using an online GIF maker will be more efficient. On the other hand, if you also require the ability to record other types of videos on your computer, using a desktop screen recorder will be more helpful.
About the Author
Related Articles
-
How to Record Screen in Windows 10 Without Any Software
You will know how to record screen in Windows 10 without any software using the built-in or onlne screen recorder tools.
Myra Xian Updated on -
How to Screen Record on Dell Desktop in 4 Ways
You will know how to screen record on Dell desktop in four easy and tested ways. Pick up the Dell screen recorder you like to apply.
Myra Xian Updated on -
4 Tips to Record Discord Stream on Any Device Easily
Whether you are using a computer or a mobile phone, you can find a way to record Discord stream on your device with ease in this guide.
Myra Xian Updated on

