Quick Answer:
Although you can capture Skype audio using OBS, OBS can’t record audio only. That means you need to record Skype audio and video first and then convert the video recording into an audio file.
OBS Studio is a popular choice for screen recording on various platforms, including Windows and macOS. When you need to record Skype calls, you may also consider using OBS Studio so that can get things done for free. If that’s what you want, read on to learn how to record Skype audio with OBS on your computer successfully.
How to Record Skype Audio with OBS
OBS’s screen recording feature allows you to capture various types of audio sources, including Skype audio. However, OBS can’t record audio only, even if you don’t select any video source. That means if you want to capture Skype audio only, you will need to convert the video recording to an audio file after the recording process. If you don’t mind, follow the steps below to record Skype calls without difficulty.
To record Skype audio with OBS:
Step 1. Download and install OBS Studio on your computer.
Step 2. Go to File > Settings > Output to customize the output settings.
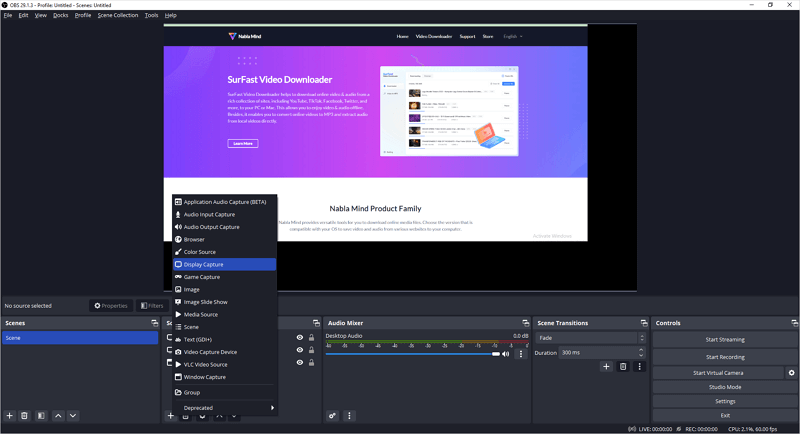
Step 3. Head to the Sources panel and click the plus icon to add the audio recording source you need, such as Application Audio Capture.
Step 4. Set the Application Audio Capture to record Skype audio.
Step 5. When you are ready, click Start Recording.
Step 6. Once done, click Stop Recording.

As mentioned earlier, the OBS recording is saved in video format. You will need to convert the video to an audio file to extract Skype audio. This can be easily done with CloudConvert.
To extract Skype audio from the recording:
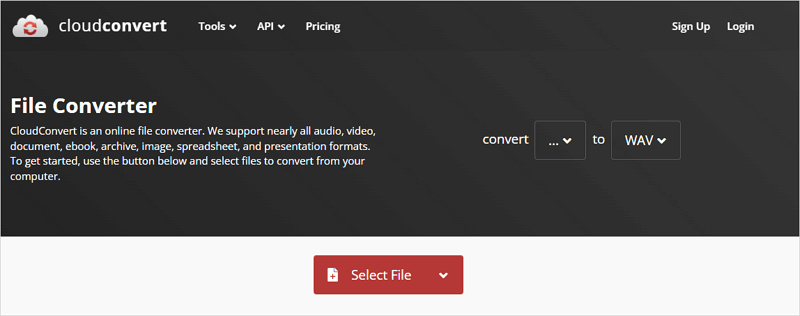
Step 1. Open a browser and visit CloudConvert.
Step 2. Click Select File and upload the recorded video.
Step 3. Select the audio format you prefer as the output format and then click Convert.
Step 4. After the conversion, click Download to save the audio file to your computer.

The conversion process is also necessary when you want to record Discord audio with OBS.
How to Record Skype Calls with OBS Alternative
Tool: SurFlex Screen Recorder
Whether you want to record audio or video from Skype, you can let SurFlex Screen Recorder help. Its audio recorder allows you to record system sound, microphone voice, or both on your PC or Mac, making it a perfect choice for Skype recording. Since it is also a video recorder, you can freely screen record on Skype to record Skype meetings or other video content when you need to.
When you use SurFlex Screen Recorder, you can customize the video or audio output settings according to your preferences. That means you can customize the file format, quality, and more. If you want a flexible screen recorder, give it a try.
To record a Skype call:
Step 1. In SurFlex Screen Recorder, go to Settings to choose the video format and quality you need.

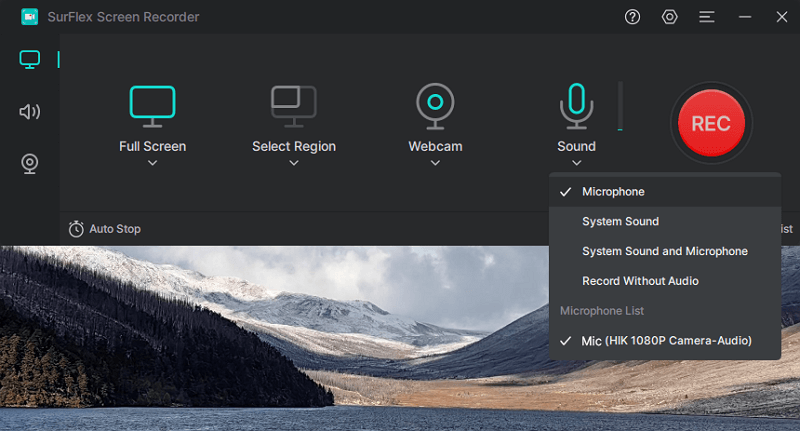
Step 2. To record an online video with audio, choose System Sound among the audio recording options.

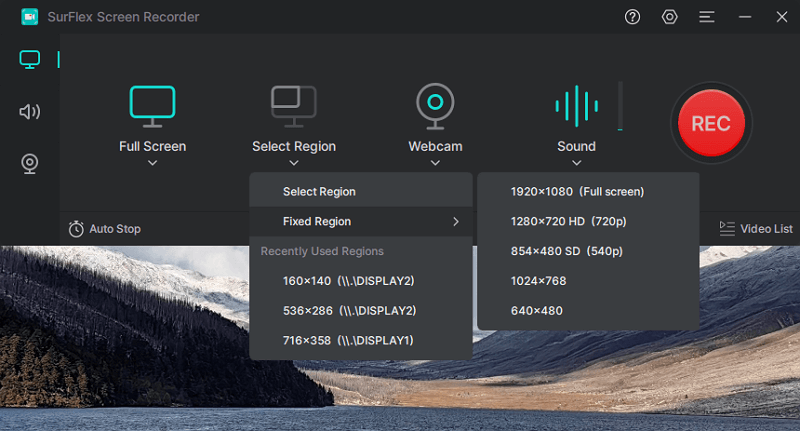
Step 3. Choose Full Screen or Select Region according to the video you’d like to capture.

Step 4. Select the recording area and click REC to start recording the online video.

Step 5. When needed, click Stop and then check the recording in the Video List.

Wrapping Up
There are many other options for recording Skype audio on your computer, such as Audacity. If you are interested in this method, you can refer to the guide on how to record audio with Audacity to find detailed steps for recording audio coming from your computer. These steps can also be applied to recording audio from Skype.
About the Author
Related Articles
-
How to Record Voice on Android: The Ultimate Guide
In this guide, you will learn three ways to record audio on Android to capture microphone sound. Pick the one you like to apply.
Myra Xian Updated on -
How to Record Audio on Windows 7 in Every Way
Whether you want to record a WAV file or streaming audio, you will know how to record audio on Windows 7 to get it done easily.
Myra Xian Updated on -
How to Record Discord Audio with OBS | Step-by-Step
If you are wondering how to record Discord audio with OBS on your computer, be it a Mac or PC, read this guide to get the detailed steps.
Myra Xian Updated on

