Quick Answer:
You can record MP3 files on Mac directly with SurFlex Screen Recorder or Audacity. If you use the built-in Voice Memos or QuickTime Player app, you need to convert the audio recording to MP3.
When you record audio on Mac, you may prefer to choose MP3 as the target format since it is the most popular and widely compatible audio format. However, although Mac has pre-installed audio recorder apps for you to record voice on Mac, they will save the audio recording as M4A by default. Thus, when you want to record MP3 on Mac, you’ll need to do one more step, file conversion, or use a third-party audio recorder to create an MP3 file on Mac directly.
Table of contents
How to Record MP3 on Mac Directly
Tool: SurFlex Screen Recorder
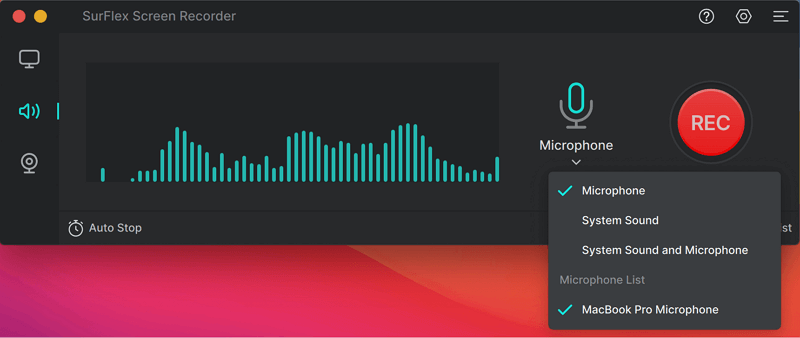
To record an MP3 file on a Mac, the most straightforward way to get it done is to use the easy Mac audio recorder, SurFlex Screen Recorder. It is capable of recording internal audio, external audio, or both on your Mac. Therefore, whether you are going to capture your own voice or record internal audio on your Mac, it is a viable choice.
When you record audio on your Mac, SurFlex Screen Recorder provides many customizable options for you, including audio format and audio quality. That means you can choose to record MP3, WAV, WMA, FLAC, and more in high quality freely.
Besides, since SurFlex Screen Recorder is also helpful for screen recording, you can also use it to screen record with audio on Mac when you need to.
To record MP3 on Mac:
Step 1. Open SurFlex Screen Recorder, click the Settings icon to choose MP3 as the output format, and then choose the Record Audio mode.

Step 2. Select the audio type you’d like to record and then click REC.

Step 3. Once the audio recording is completed, click Stop and check the audio file in the recording list.

How to Record an MP3 File on Mac for Free
Tool: Audacity
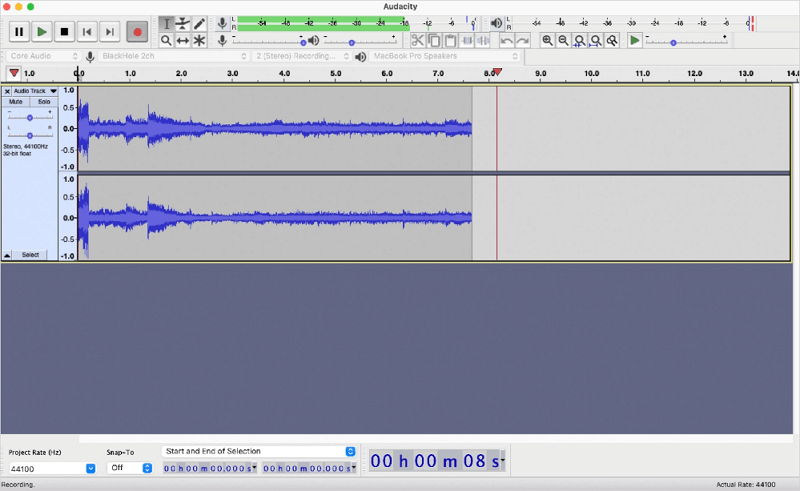
You may have heard of Audacity before, which is a popular free open-source audio recorder and editor that is compatible with various platforms, including macOS. When you record audio with Audacity, you can choose MP3, WAV, and OGG as the output format. Therefore, you can not only apply it to make an MP3 file but also use it to record a WAV file on your Mac.
Note: Audacity can only capture microphone sound on Mac by default. If you intend to use it to record internal audio, you can refer to the guide on how to use Audacity to record computer audio on Mac for more detailed steps.
To record an MP3 file on Mac:
Step 1. Download and install Audacity on your Mac.
Step 2. Open Audacity and go to Audio Setup > Recording Device to choose the microphone.
Step 3. Click the Record button to start recording audio.
Step 4. Once the recording is done, click Stop.
Step 5. Go to File > Export > Export as MP3 and then save the audio file on your Mac.

Audacity is also compatible with Windows. If you need to record MP3 on Windows 10 someday, you can still apply this freeware.
How to Create an MP3 File on Mac Easily
Tool: Voice Memos
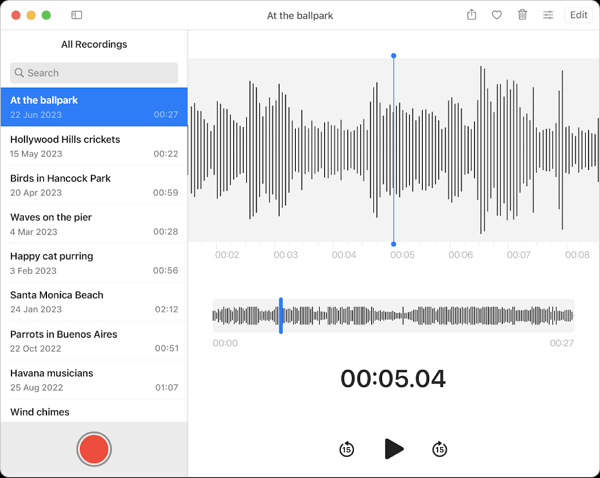
To create an MP3 file on your Mac, using the built-in Voice Memos app is an indirect but workable solution. The Voice Memos app enables you to record your own voice on Mac via the integrated microphone or an external microphone device. However, it will save the audio recording in M4A by default. Thus, if you want to make an MP3 file on your Mac with it, you will need to convert the audio file to MP3, which can be easily done with an online audio converter.
To record MP3 on Mac:
Step 1. Launch the Voice Memos app on your Mac.
Step 2. Click the Record button to start recording your voice.
Step 3. When the recording is finished, click Done and then save the recording.
Step 4. Open a browser on your Mac and visit CloudConvert.com.
Step 5. Upload the audio recording and then convert it to MP3.
Step 6. Download the MP3 file to your Mac.

How to Make an MP3 File on Mac Indirectly
Tool: QuickTime Player
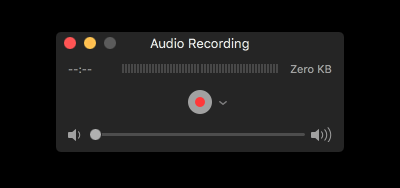
Similar to Voice Memos, QuickTime Player also works to record external audio via a microphone by default and will save the audio recording in M4A. Thus, you also need an audio converter to convert the audio recording to MP3.
However, with the help of a third-party audio driver, you will be able to record computer audio on a Mac with QuickTime Player. If you want to record system sound with it, you can refer to the guide on QuickTime audio recording to get the detailed steps. Besides, it can record videos via webcam and record screen activities. That’s why you can record the screen on a Mac with audio using QuickTime.
Here I’d like to show you how to record external audio on Mac and convert the audio file to MP3.
To make an MP3 file on Mac:
Step 1. Go to QuickTime Player > File > New Audio Recording.
Step 2. Click the Options button and choose the recording device.
Step 3. Click Record to start recording audio on your Mac.
Step 4. When you are done, end the recording and save it to your Mac.
Step 5. Visit CloudConvert.com and convert the audio recording to MP3.

Wrapping Up
When it comes to recording MP3 on a Mac, it is evident that using a third-party audio recorder allows you to directly record an MP3 file and helps capture various types of audio. On the other hand, using the built-in audio recording app will save the audio file in M4A format and can only record sound from the microphone. Therefore, if convenience is your priority, using a professional audio recorder like SurFlex Screen Recorder is the optimal choice. However, if you don’t mind the conversion step, using the preinstalled app, Voice Memos or QuickTime Player, can also be a practical solution.
About the Author
Related Articles
-
How to Record Voice on Mac in 4 Ways
If you are wondering how to record voice on Mac, read this guide to learn how to capture your voice on your MacBook with simple clicks.
Myra Xian Updated on -
4 Ways to Record Audio from YouTube for Free
You will know how to record audio from YouTube for free on your PC or Mac with various types of audio recorders. Read on to get the details.
Myra Xian Updated on -
How to Record Voice on Audacity in Detail
After reading this guide, you will know how to record voice on Audacity to capture your microphone audio with a few simple clicks.
Myra Xian Updated on

