Quick Answer:
You can record Minecraft gameplay with either online or desktop Minecraft recorders, including SurFlex Online Free Screen Recorder, SurFlex Screen Recorder for Windows & Mac, Xbox Game Bar, OBS Studio, or Bandicam. Depending on your specific needs, the best way for you varies.
Minecraft is a popular 3D sandbox video game that can be played on various platforms, including PC. If you have Minecraft Classic, Minecraft Java Edition, or Bedrock Edition on your PC and want to know how to record yourself playing Minecraft, check the five methods below, and then you will know how to record Minecraft on PC without difficulty.
Table of contents
How to Record Minecraft for Free
Tool: SurFlex Online Free Screen Recorder
If you prefer a free method to record Minecraft videos on your computer, you may like using SurFlex Online Free Screen Recorder. Whether you want to screen record Minecraft content only or record yourself playing Minecraft, it will serve you well. In short, it provides an online and free (no watermark & time limit) solution for Minecraft recording on PC or Mac.
SurFlex online screen recorder works to record a browser tab, an app window, or the entire screen with audio (system sound, microphone, or both) in HD quality. In addition to recording Minecraft, you can use it in many other screen recording situations. If you want to spare yourself from software installations, follow the steps below to record Minecraft for free:
Step 1. Prepare Minecraft for recording.
Step 2. Open a browser, such as Chrome, and navigate to SurFlex Online Free Screen Recorder.
Step 3. Select the recording sources you need, such as screen, webcam, microphone, and system sound. Then click Start Recording.
Step 4. In the prompt, select Entire Screen and choose the target screen. When you are ready, click Share to start recording Minecraft.
Step 5. To end the recording, click Stop Recording.
Step 6. Go back to the online game recorder and click Download to save the gameplay to your PC.
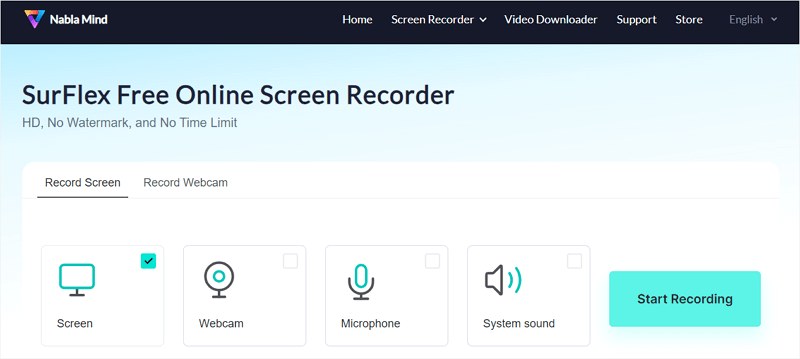
Note: SurFlex online screen recorder is compatible with Chrome, Firefox, Edge, and Safari. Due to browser limitations, it can’t record audio if you choose to record an app window. Thus, if you want to make Minecraft videos with audio, you should choose to record the entire screen.
How to Record Yourself Playing Minecraft
Too: SurFlex Screen Recorder
Although using an online Minecraft recorder is convenient, it provides fewer features compared with a desktop tool like SurFlex Screen Recorder. This good screen recorder for Minecraft allows you to easily record a full-screen game or a specific game window with game audio, microphone sound, or both. You can also add a webcam overlay to record yourself playing video games.
Before the Minecraft recording, you can customize the video format, video quality, frame rate, and more so that you can record high-quality Minecraft videos. Whether you want to record gameplay on PC or Mac, SurFlex Screen Recorder will come in handy.
To record yourself playing Minecraft:
Step 1. Launch the screen recorder on your computer and click Settings to customize the output settings.

Step 2. Select System Sound and Microphone as the audio recording option.
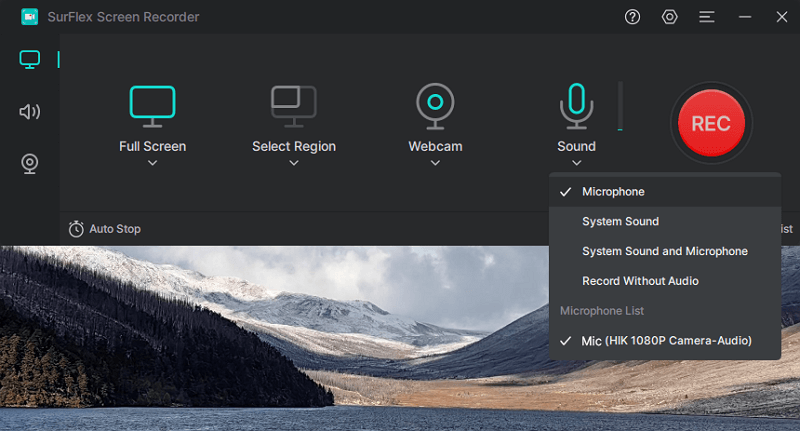
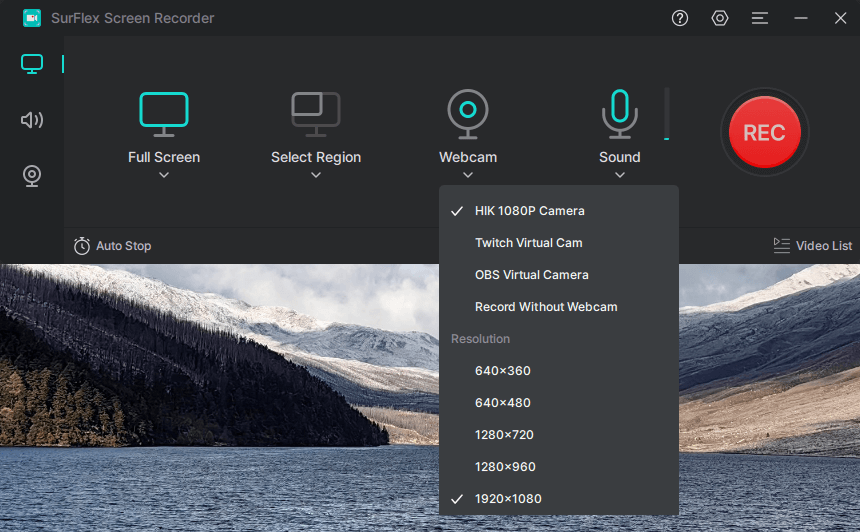
Step 3. To record yourself playing a game, enable Webcam recording and select the camera you’d like to use.
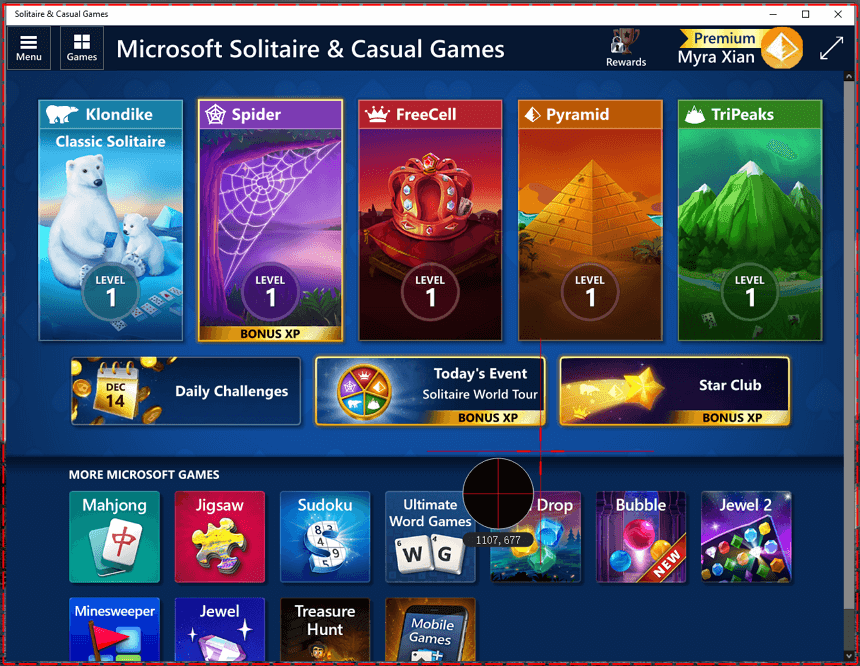
Step 4. Select the game window you’d like to capture and adjust the size and position of the webcam. When you are ready, click REC to start recording yourself playing a game.
Step 5. When you are done, click Stop and then go to the recording list to check the gameplay.
How to Record Minecraft on Windows 10
Tool: Xbox Game Bar
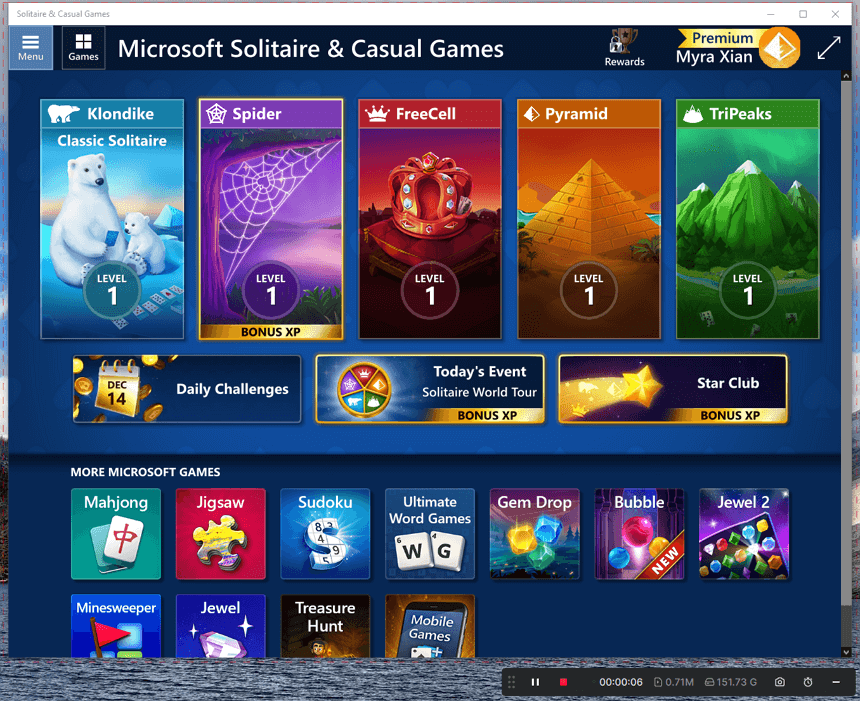
If you are going to record Minecraft gameplay on a PC running Windows 10 or later, you don’t need any third-party Minecraft recording software: Windows 10 has a built-in game recorder-Xbox Game Bar.
Xbox Game Bar can record game windows with audio, including game audio, system sound, and microphone phone. Even if you want to record past gameplay on a PC, you can enable background recording in Xbox Game Bar to get it done.
However, Xbox Game Bar doesn’t support webcam recording, disallowing you to record yourself while playing a game. If you only need to make a Minecraft video, using Xbox Game Bar will be helpful.
To record Minecraft on Windows 10 with Xbox Game Bar:
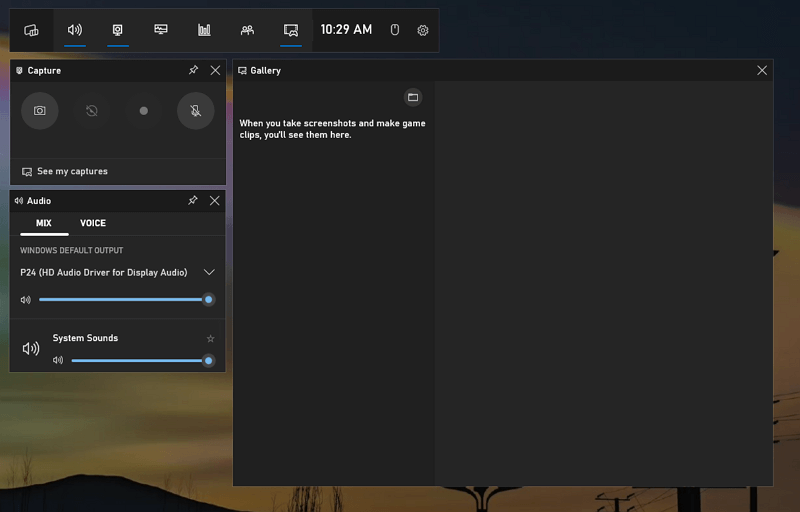
Step 1. Go to Start > Settings > Gaming > Captures to customize the recording settings.
Step 2. Then go to Xbox Game Bar (Windows + G) > Settings > Widgets to select the audio recording option.
Step 3. When you are playing Minecraft, press Windows-Alt-R to start recording the game immediately.
Step 4. Click Game clip recorded or go to Xbox Game Bar > Gallery to check the gameplay.
How to Record Minecraft with OBS Studio
Tool: OBS Studio
OSB Studio is another free solution for recording Minecraft on your PC and allows you to record Minecraft videos only or record yourself playing Minecraft. If you want to record game clips on your PC without any cost, using OBS Studio is a suitable choice.
To record Minecraft with OBS Studio:
Step 1. Make sure you have installed OBS Studio on your computer.
Step 2. Launch OBS Studio, go to File > Settings > Output, and then customize the output options.
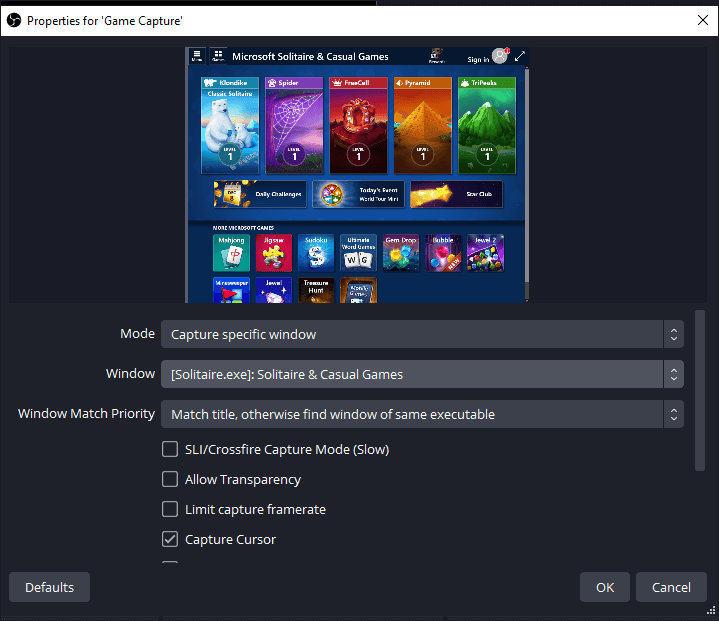
Step 3. Go to the Sources panel to add recording sources you need, such as Game Capture, Audio Output Capture, and more.
Step 4. Make sure the Minecraft window is selected and click Start Recording.
Step 5. After the game recording, click Stop Recording and go to File > Show Recordings to check the Minecraft gameplay.
How to Record Minecraft on PC with No Lag
Tool: Bandicam
If you are looking for professional Minecraft recording software, don’t hesitate to try Bandicam. It is a screen recorder that provides game recording mode which enables you to record Minecraft videos with no lag. It’s a game recorder that supports recording various 2D or 3D games in 4K resolution. It not only helps to record Minecraft gameplay but also works well in many other screen recording situations. If you need to record videos on PC often, Bandicam is worth trying.
To record Minecraft with no lag:
Step 1. Install Bandicam on your PC.
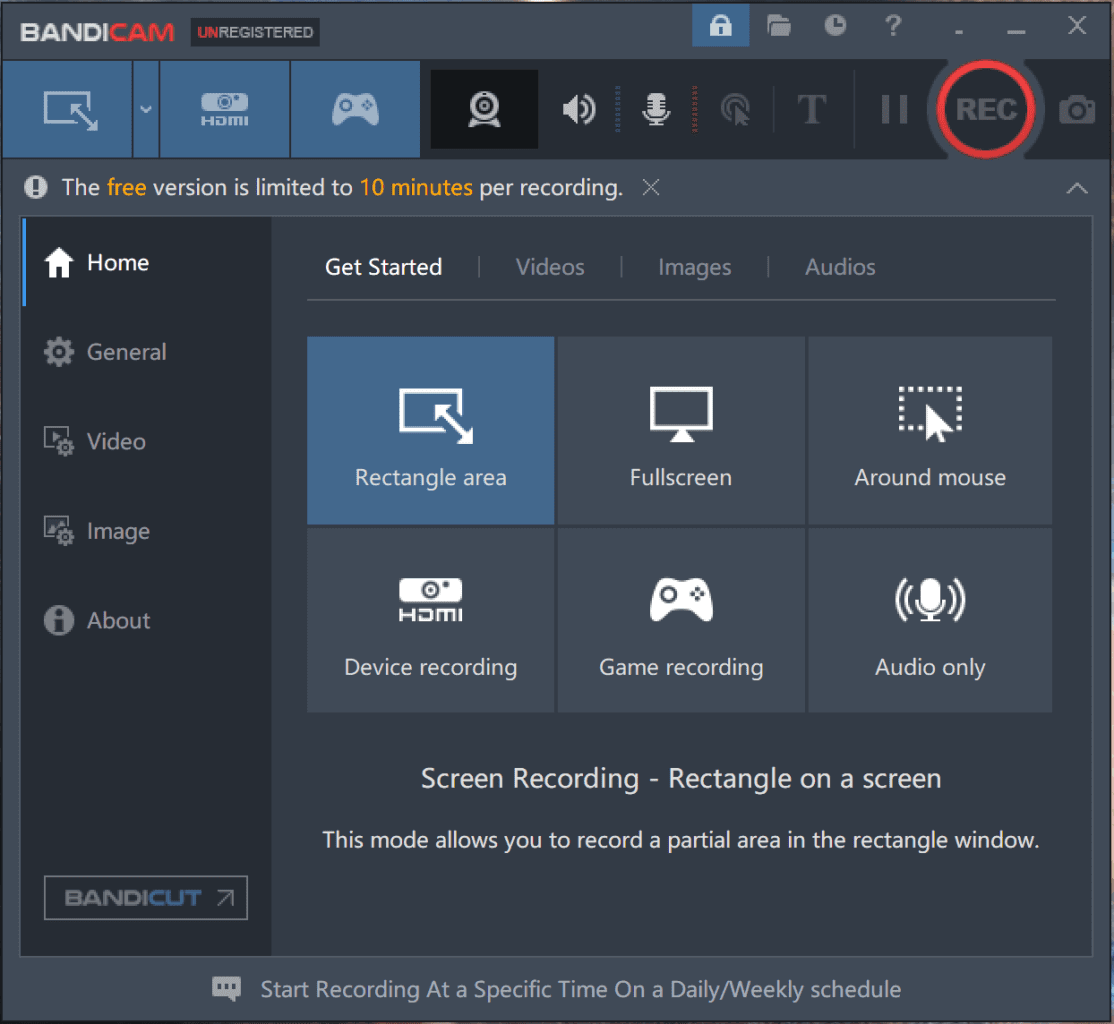
Step 2. Launch Bandicam and choose the Game Recording Mode.
Step 3. Select the Minecraft window and then set up other recording options according to your needs.
Step 4. When you are ready, click Start Recording.
Step 5. Once the recording is done, click Stop Recording or press F12 to end the recording.
Step 6. Check the Minecraft gameplay in the recording list.
Wrapping Up
These are proven tips for recording Minecraft on a PC. You can use any of them to capture gameplay without any hassle. When you need to record other games on your computer in the future, you can still apply one of the methods mentioned above to successfully record game clips.
About the Author
Related Articles
-
How to Record Overwatch with ShadowPlay Successfully
You will know how to record Overwatch with ShadowPlay to capture real-time gameplay, past clips, or highlights.
Myra Xian Updated on -
How to Record Gameplay on PC Windows 11 in 3 Ways
If you are wondering how to record gameplay on PC in Windows 11, check this guide and you will get four easy tips.
Myra Xian Updated on -
How to Record Gameplay on Laptop in 3 Ways
No matter which Windows version you use, read this guide and you will know how to record gameplay on laptop with ease.
Myra Xian Updated on

