Quick Answer:
You can record audio on iPhone by using the built-in Voice Memos or GarageBand app or using a third-party audio recorder like Rev Voice Recorder.
When you want to record audio on your iPhone to capture your own voice, there are both preinstalled and third-party audio recorders available for help. If you want to know how to record audio on iPhone, here you are at the right place. You will get three detailed ways to record voice on your iPhone, keep reading to check the details.
Table of contents
How to Record Voice on iPhone Directly
Tool: Voice Memos
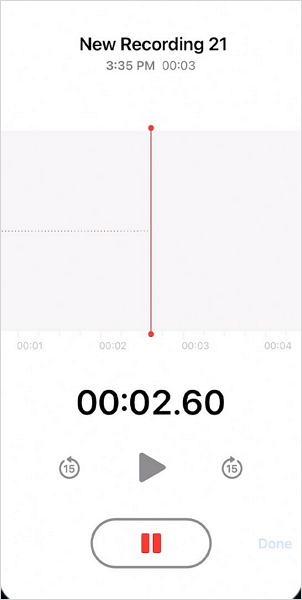
Voice Memos is the preinstalled app on Apple devices that allows you to capture your own voice via the microphone. Just like you can record your voice on Mac with Voice Memos, you can also record audio on your iPhone with the app. Besides, you can also edit, share, or delete the recording according to your needs. If you just need basic voice recording, you can use the native app to help.
To record audio on iPhone:
Step 1. Open the Voice Memos app on your iPhone.
Step 2. When you are ready, tap the red Record button to start recording audio on your iPhone.
Step 3. Tap the Stop button to end the recording when necessary.
Step 4. Then you can check the recording in the recording list.

Note: If you want to edit or share the audio recording, tap the three dots and choose Edit Recording or Share. If you want to delete the recording, tap the trash icon and choose Delete.
How to Record Audio on iPhone for Free
Tool: GarageBand
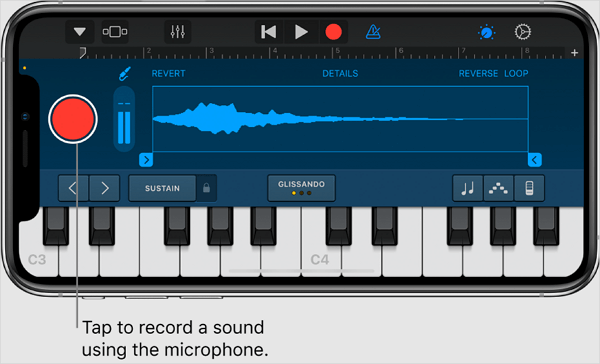
Another native app that allows you to record audio on your iPhone without needing any additional apps is GarageBand. This app is primarily designed for music creation but also includes the capability to record audio. Therefore, you can use it to record your own audio tracks using a microphone. Additionally, GarageBand offers the ability to edit the audio recording by adding audio effects, adjusting volume, and more. If you’re looking to create a more polished audio recording, using GarageBand would be a suitable choice.
To record audio on iPhone with Garageband:
Step 1. Open the GarageBand app, tap Recents, and click the Plus icon.
Step 2. Choose Audio Recorder among the options.
Step 3. Tap the Plus icon, choose Section A, and turn on the Automatic option.
Step 4. When you are ready to record the audio, tap the Record button.
Step 5. Tap the Stop button to end the recording when you are done.
Step 6. Click the triangle in the top left of the screen and choose My Songs to check the recording.

How to Record Audio on iPhone Flexibily
Tool: Rev Voice Recorder
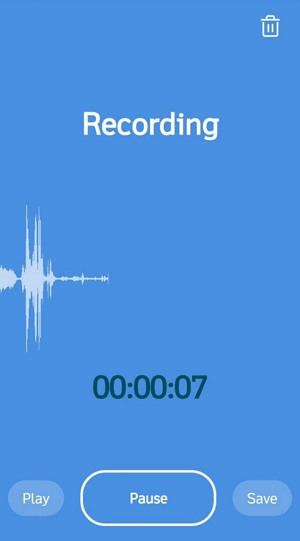
If you want more advanced voice recording features, such as voice-to-text conversion, using a third-party audio recorder for iOS is necessary. The Rev Voice Recorder app enables you to capture high-quality audio recordings and can transcribe conversations in real-time. If you are going to record audio on your iPhone to record an interview or meeting to capture conversations, such an iPhone audio recorder will fit your needs better.
To record audio on iPhone with the audio recorder for iOS:
Step 1. Download and install Rev Voice Recorder on your iPhone via the App Store.
Step 2. Open the app and tap the Record button to start recording.
Step 3. Once the recording is completed, click Stop.
Step 4. Preview the audio file and then tap Download to save the recording to your device.

After recording the audio file successfully, you can not edit, transcribe, share, or do more with the recording within the app.
Wrapping Up
Now that you know how to record audio on your iPhone using either free or paid apps, let’s summarize the options. If you have basic voice recording needs, the native Voice Memos app on your iPhone is sufficient. If you want to record music on your device, GarageBand is a more suitable choice. However, if you’re looking to do more with your audio recordings, such as advanced editing and professional features, using a third-party app like Rec Voice Recorder is recommended.
About the Author
Related Articles
-
How to Record Voice on Windows 10 | New Guide
If you want to know how to record voice on Windows 10, read this guide and you will know how to get it done with simple tips.
Myra Xian Updated on -
3 Ways to Record YouTube Audio on Mac
If you are wondering how to record YouTube audio on Mac, read this guide and learn how to do it with proven ways.
Myra Xian Updated on -
3 Tips for Recording Music on Computer
If you are going to record music on computer, check this guide and you will know how to record music on laptop or PC easily.
Myra Xian Updated on

